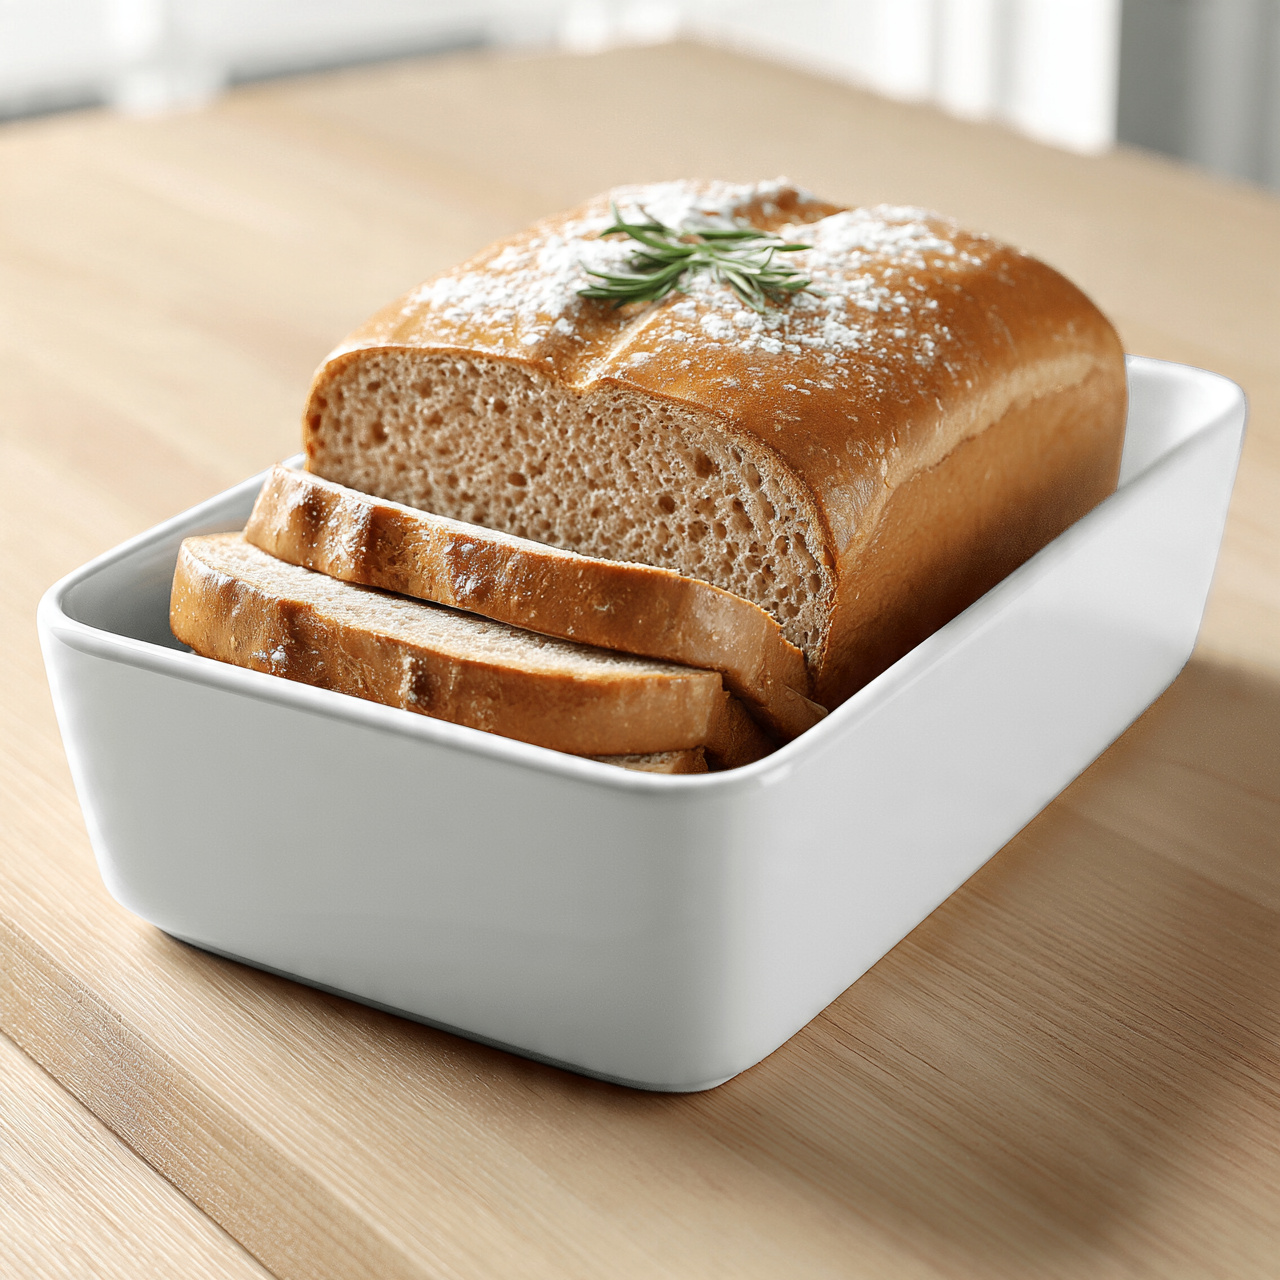
Whole Wheat Sourdough Bread
This whole wheat sourdough bread is perfectly tangy, chewy, and deeply nourishing. Bake it overnight with just a handful of ingredients and wake up to the best loaf of your life.

The Whole Wheat Sourdough Bread You Will Actually Bake Every Week
There is something deeply satisfying about pulling a crackling, dark-crusted sourdough loaf out of a screaming-hot Dutch oven. The sound alone is worth it. But if you have ever felt intimidated by sourdough, especially a whole wheat version, this recipe is here to change that. This is the beginner overnight sourdough bread that finally clicks, the one that becomes a weekly ritual without taking over your life.
Whole wheat sourdough is not just bread. It is nutty, complex, chewy, and tangy in a way that grocery store sourdough never manages. It has substance. It holds up to a thick swipe of butter, a pile of avocado, or a serious sandwich without falling apart. And because the dough does most of its work while you sleep, it fits into real life beautifully.
Why Overnight Sourdough Is the Smarter Way to Bake
The magic of an easy overnight sourdough bread recipe lies in time. A long, slow fermentation, first at room temperature during the bulk rise and then in the refrigerator during the cold proof, does the flavor development work for you. You are not babysitting the dough. You are letting wild yeast and natural bacteria do what they do best.
Whole wheat flour brings more bran and germ to the party than white flour, which means more nutrients, more fiber, and a more complex flavor. The tradeoff is that it needs a little extra love. Mixing it with a portion of bread flour keeps the crumb open and light rather than brick-like. This balance is the key to a whole wheat sourdough that is genuinely delicious, not just virtuous.
Chef's Tip: Your sourdough starter is the heart of this recipe. Always use it at peak activity, when it has doubled and smells yeasty and tangy. A sluggish starter means a sluggish rise.
Tools and Ingredients That Make a Real Difference
Whole wheat sourdough has a few non-negotiable requirements. A heavy Dutch oven traps steam in the first phase of baking, which creates that signature blistered crust. A proofing basket (banneton) helps the shaped dough hold its form during the cold ferment. And a sharp bread lame lets you score the top cleanly so the loaf blooms rather than tears.
Using good stone-ground whole wheat flour also matters more here than in most recipes. The flavor is noticeably richer and the dough behaves better.
How to Shape and Schedule Your Bake
One of the biggest questions beginners have is timing. Here is the honest answer: this overnight sourdough bread recipe is flexible, and that flexibility is a feature.
- Start the dough in the late afternoon (around 4 to 6 p.m.) and let it bulk ferment overnight at room temperature.
- Shape in the morning, refrigerate for a few hours, and bake before lunch.
- Or start the dough in the evening, bulk ferment while you sleep, shape first thing in the morning, refrigerate all day, and bake in the evening.
Both schedules work. The cold proof in the refrigerator is the flexible window, anywhere from 8 to 16 hours, so you bake when it suits you.
Important: Do not skip the full cool-down after baking. The crumb is still setting for the first hour out of the oven. Slicing too early will leave you with a gummy, underdone interior even if the crust looks perfect.
Getting the Crust Right
That deep, shattering mahogany crust is not an accident. Two things create it. First, the covered Dutch oven traps steam from the dough in the first 20 minutes, keeping the surface pliable so the loaf can expand. Second, removing the lid and reducing the heat finishes the crust with dry heat, driving it to a rich, dark color without burning.
Do not pull the loaf early because it looks dark. Whole wheat sourdough should be deep brown, nearly dark. A pale loaf will taste bland and have a softer, chewier crust. Commit to the color.
Ready to bake your best loaf yet? Here is everything you need:
Whole Wheat Sourdough Bread
This whole wheat sourdough bread is perfectly tangy, chewy, and deeply nourishing. Bake it overnight with just a handful of ingredients and wake up to the best loaf of your life.
Ingredients
- 2 cups whole wheat flour, stone-ground preferred
- 1 cup bread flour, plus more for dusting
- 1/4 cup active sourdough starter, fed and bubbly, at peak activity
- 1 1/4 cups lukewarm water, around 78 to 80 degrees F
- 1 1/2 tsp fine sea salt
- 1 tbsp honey, optional, helps with browning and mild sweetness
Instruction
In a large bowl, combine the sourdough starter, lukewarm water, and honey (if using). Stir gently until the starter is mostly dissolved.
Add the whole wheat flour, bread flour, and salt. Mix with your hands or a dough scraper until no dry flour remains. The dough will feel shaggy and rough at this stage.
Cover the bowl with a damp towel or plastic wrap and let the dough rest for 30 minutes. This is the autolyse step and it makes a big difference in the final texture.
Perform 4 sets of stretch and folds over the next 2 hours, spacing each set about 30 minutes apart. To do a set, grab one side of the dough, stretch it up, and fold it over the center. Rotate the bowl 90 degrees and repeat 3 more times.
After the final fold, cover the bowl and let the dough bulk ferment at room temperature for 6 to 10 hours, or overnight. The dough is ready when it has grown by about 50 percent and looks airy with bubbles on the surface.
Turn the dough onto a lightly floured surface. Gently shape it into a tight round or oval loaf using your hands. Place it seam-side up into a well-floured proofing basket (banneton) or a bowl lined with a floured kitchen towel.
Cover loosely and refrigerate for 8 to 16 hours. This cold proof develops flavor and makes the dough easier to score.
When ready to bake, place your Dutch oven into the oven and preheat to 500 degrees F (260 degrees C) for at least 45 minutes.
Remove the dough from the refrigerator. Cut a piece of parchment paper to fit your Dutch oven and turn the cold dough out onto it. Score the top quickly with a sharp lame or razor blade in one confident slash.
Carefully lower the dough and parchment into the hot Dutch oven. Cover with the lid and bake for 20 minutes.
Remove the lid and reduce the oven temperature to 450 degrees F (230 degrees C). Continue baking for 20 to 25 minutes until the crust is deep mahogany brown.
Lift the loaf out using the parchment and transfer to a wire rack. Let it cool for at least 1 hour before slicing. Cutting too soon will result in a gummy crumb.
Equipment
- Large mixing bowl
- Bench scraper or dough scraper
- Proofing basket (banneton) or medium bowl
- Dutch oven (5 to 6 quart)
- Bread lame or sharp razor blade
- Parchment paper
- Wire cooling rack
- Kitchen scale (recommended)
Notes
Serving, Storing, and Making It Your Own
This bread is extraordinary still warm with good salted butter. It is equally at home sliced thick for an open-faced egg and avocado toast, torn into a bowl of soup, or used for a serious grilled cheese.
For storage, keep the cooled loaf cut-side down on a wooden cutting board and wrap it loosely in a kitchen towel. Avoid plastic bags, which trap humidity and destroy the crust. The bread stays great for 3 days at room temperature and freezes beautifully for up to 3 months.
Once you have the base recipe down, consider folding in toasted seeds like sesame, sunflower, or caraway during the stretch and fold stage. A tablespoon of olive oil in the dough adds a slightly richer crumb. A higher percentage of whole wheat, up to 80 percent, will give you a denser, more rustic loaf with an even more pronounced tang.
This is the kind of bread that makes people ask for the recipe. Bake it once and it will not be your last time.