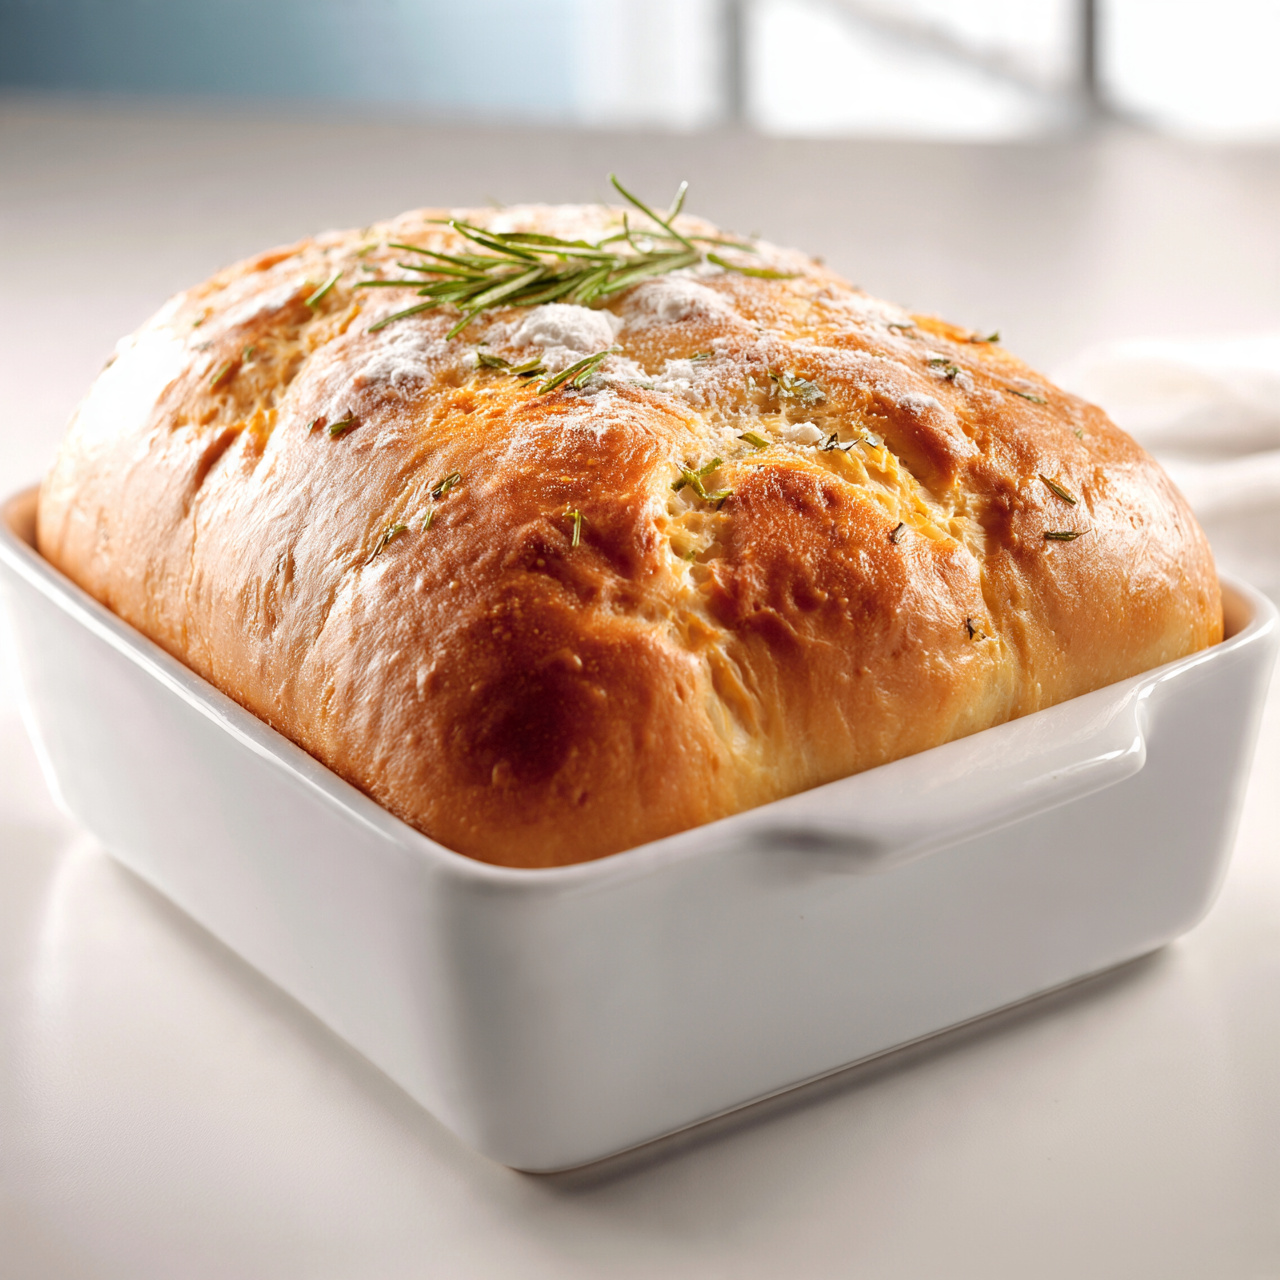
Homemade Honey Wheat Bread (Soft, Simple, and Beginner-Friendly)
This easy homemade honey wheat bread is soft, subtly sweet, and perfect for sandwiches or toast. A beginner-friendly whole wheat bread recipe the whole family will love.

The Only Homemade Honey Wheat Bread Recipe You Will Ever Need
There is something deeply satisfying about pulling a golden loaf of homemade honey wheat bread out of the oven. The smell alone makes it worth every minute. Whether you are brand new to bread baking or just looking for an easy homemade whole wheat bread recipe that actually works, this one is for you. It is soft in the middle, slightly crisp on the crust, and just barely sweet from the honey. Perfect for sandwiches, toast, or eating straight from the pan with a smear of butter.
This recipe strikes a balance between wholesome and approachable. By blending whole wheat flour with a small amount of all-purpose flour, you get a loaf that has all the nutty flavor and fiber of whole wheat bread without the brick-like density that puts a lot of beginners off. Think of it as the best entry point into homemade whole wheat bread loaves.
Why This Recipe Works for Beginners
Easy whole wheat bread recipes for beginners tend to fail in one of two ways: the dough is either too dense to rise properly, or the instructions skip over the small details that actually matter. This recipe does not do either of those things.
Here is what makes it reliable:
- Honey acts as both a natural sweetener and a yeast activator, helping the dough rise consistently
- Vital wheat gluten (optional but recommended) strengthens the gluten network in whole wheat dough, giving you a lighter, chewier loaf
- Two-flour blend keeps the texture soft while delivering real whole grain flavor
- Clear timing cues replace vague instructions like "let rise until doubled" with visual and time-based checkpoints
Chef's Tip: Do not skip the yeast proofing step. Even if your yeast is new, spending 5 minutes confirming it is active will save you from a loaf that never rises.
Before we get into the homemade wheat bread instructions, having the right tools really does make a difference. A quality loaf pan with straight sides gives you that classic sandwich-bread shape, and an instant-read thermometer takes all the guesswork out of knowing when the bread is done.
How To Make Homemade Whole Wheat Bread: What To Expect
If you have never made bread before, here is a quick roadmap so nothing catches you off guard.
The whole process takes about 3 hours from start to finish, but most of that is hands-off rising time. Active work is maybe 20 minutes total. Here is the rough flow:
- Proof the yeast (10 minutes)
- Mix and knead the dough (15 minutes)
- First rise (1 to 1.5 hours)
- Shape and second rise (45 to 60 minutes)
- Bake (30 to 35 minutes)
- Cool before slicing (30 minutes, the hardest part)
The kneading step is where beginners sometimes feel unsure. You are looking for dough that is smooth, slightly tacky, and springs back when you poke it. If it tears easily, knead a bit longer. If it sticks to your hands aggressively, add flour one tablespoon at a time.
Chef's Tip: A stand mixer with a dough hook makes kneading effortless, but this dough is very workable by hand. Do not let the lack of a mixer stop you.
Ready to bake your first loaf of homemade honey wheat bread? Here is everything you need:
Homemade Honey Wheat Bread (Soft, Simple, and Beginner-Friendly)
This easy homemade honey wheat bread is soft, subtly sweet, and perfect for sandwiches or toast. A beginner-friendly whole wheat bread recipe the whole family will love.
Ingredients
- 2 cups whole wheat flour, spooned and leveled
- 1 cup all-purpose flour, plus more for kneading
- 2 1/4 tsp active dry yeast, one standard packet
- 1 cup warm water, between 105 and 110 degrees F
- 3 tbsp honey, raw or clover honey works best
- 2 tbsp vegetable oil, or melted coconut oil
- 1 tsp salt
- 1 tbsp vital wheat gluten, optional but helps with rise and texture
Instruction
In a large mixing bowl, combine the warm water and honey. Stir gently to dissolve, then sprinkle the active dry yeast over the top. Let it sit for 5 to 10 minutes until the mixture is foamy and fragrant. If it does not foam, your yeast may be expired.
Add the vegetable oil and salt to the yeast mixture and stir to combine.
Add the whole wheat flour one cup at a time, stirring after each addition. If using vital wheat gluten, add it with the first cup of whole wheat flour.
Add the all-purpose flour half a cup at a time, mixing until a shaggy dough forms and pulls away from the sides of the bowl.
Turn the dough out onto a lightly floured surface. Knead for 8 to 10 minutes until the dough is smooth, elastic, and slightly tacky but no longer sticky. Add flour one tablespoon at a time only if the dough is sticking excessively.
Shape the dough into a ball and place it in a lightly oiled bowl. Cover with a clean kitchen towel or plastic wrap. Let it rise in a warm spot for 1 to 1.5 hours, or until doubled in size.
Punch the dough down gently to release the air. Turn it out onto a lightly floured surface and shape it into a tight log the same length as your loaf pan.
Place the shaped dough seam-side down into a greased 9x5 inch loaf pan. Cover loosely and let it rise again for 45 to 60 minutes, or until the dough crowns about 1 inch above the rim of the pan.
While the dough is doing its second rise, preheat your oven to 375 degrees F (190 degrees C).
Bake the loaf for 30 to 35 minutes, until the top is deep golden brown and the loaf sounds hollow when tapped on the bottom. An internal temperature of 190 to 200 degrees F confirms it is done.
Remove the bread from the pan immediately and transfer it to a wire cooling rack. Let it cool for at least 30 minutes before slicing for the cleanest cuts.
Equipment
- Large mixing bowl
- 9x5 inch loaf pan
- Stand mixer with dough hook (optional)
- Kitchen towel or plastic wrap
- Wire cooling rack
- Instant-read thermometer
Notes
Serving, Storing, and Variations
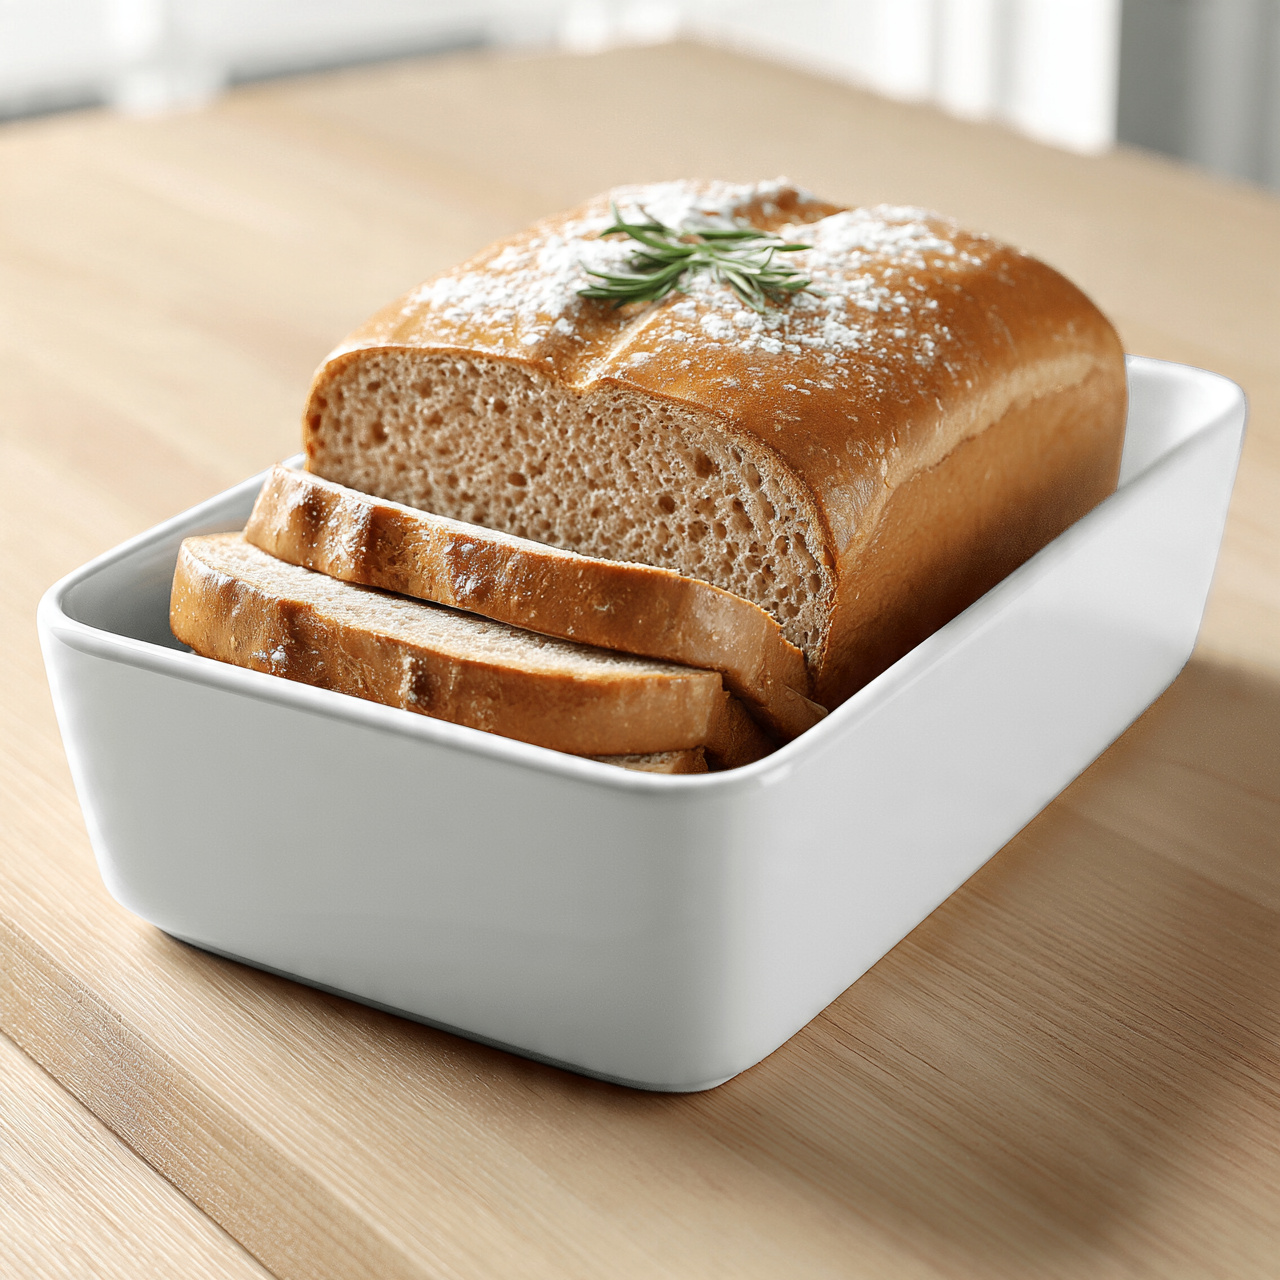
This loaf is incredibly versatile. Fresh out of the oven, it needs nothing but good butter. The next day, it makes outstanding sandwiches and holds up well to hearty fillings. By day three, thick slices are ideal for French toast.
Want to customize it? Try these easy variations:
- Seeded loaf: Press sunflower seeds, sesame seeds, or rolled oats onto the top of the shaped loaf before the second rise
- Extra-honey version: Increase honey to 4 tablespoons for a noticeably sweeter crumb, closer to a classic homemade honey wheat bread from a bakery
- Dairy-enriched: Swap the water for warm whole milk for a slightly richer, more tender loaf
For storage, wrap the completely cooled loaf tightly and keep it at room temperature for up to 4 days. Slice and freeze any extra for up to 3 months. This is one of those easy homemade whole wheat bread recipes that doubles beautifully, so feel free to make two loaves and freeze one whole.
Once you make this bread once, store-bought sandwich bread is going to feel like a step backward.