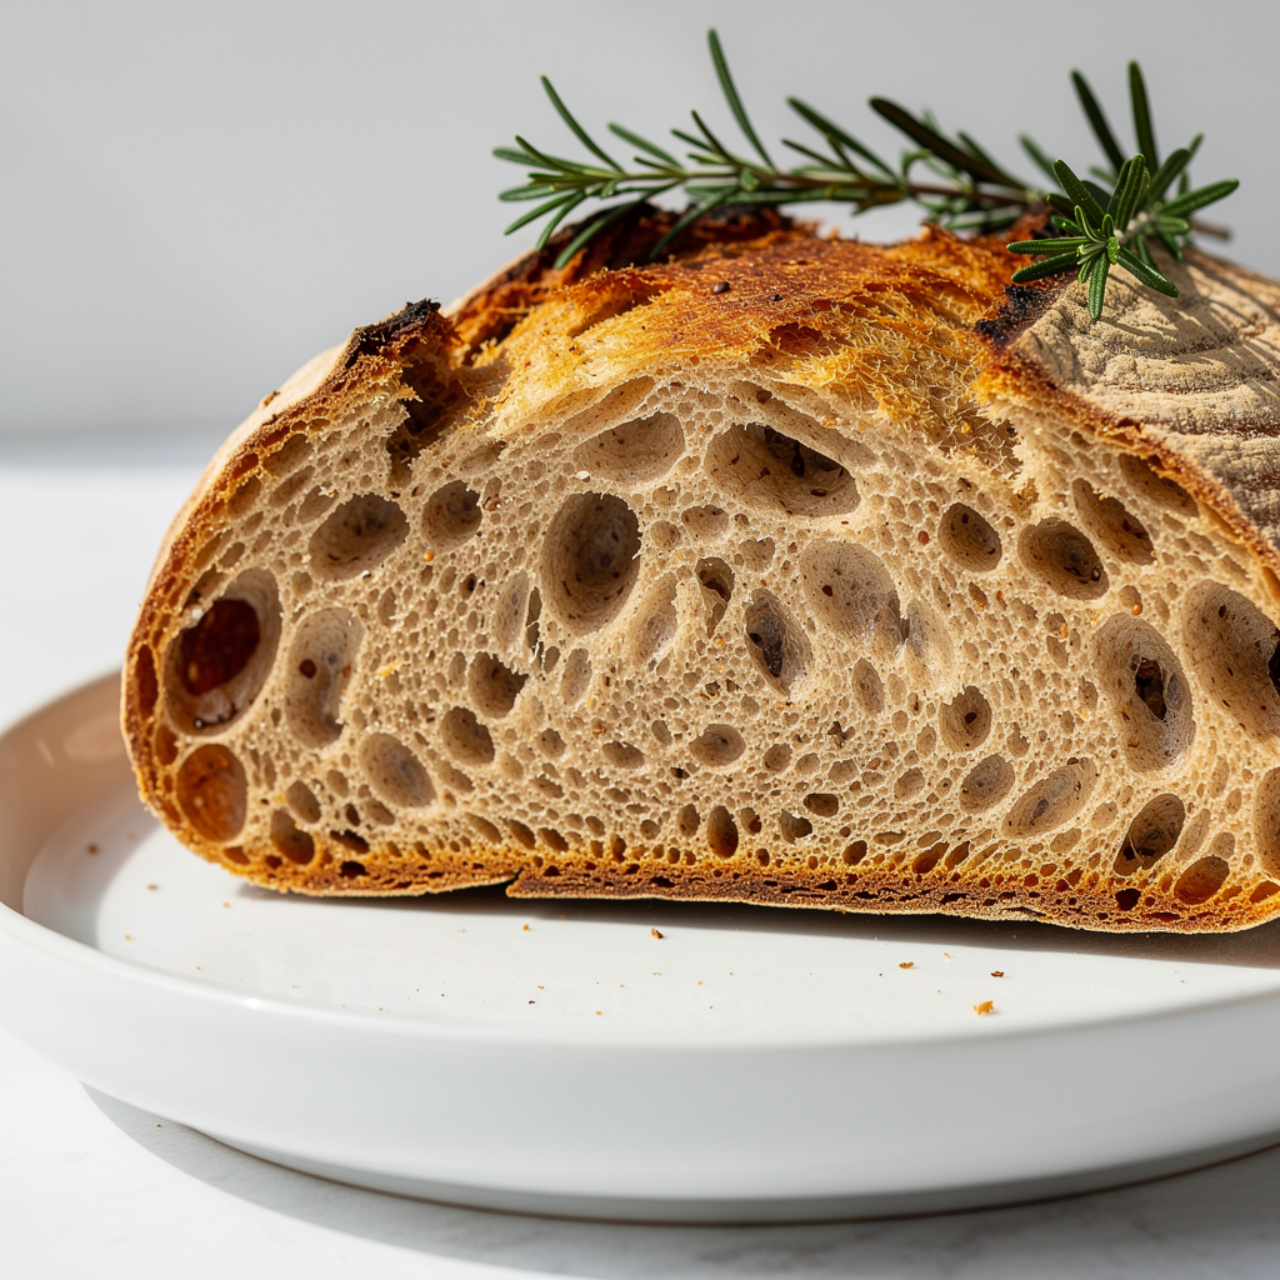
Sourdough Rye Bread Recipe (Deeply Flavorful and Perfectly Tangy)
This sourdough rye bread recipe delivers a deeply tangy, hearty loaf with a crisp crust and chewy crumb using a rye sourdough starter. Perfect for sandwiches, toast, or alongside soup.

The Sourdough Rye Bread That Will Ruin Store-Bought Forever
There is a loaf of bread out there that smells like a proper bakery, slices with a satisfying crunch, and tastes like it has been fermenting in a cool European cellar for days. That bread is sourdough rye, and once you bake it at home, you will genuinely struggle to go back to anything else.
This rye sourdough recipe is for anyone who loves a deeply flavored, tangy loaf with a hearty crumb and a crust that shatters when you press it. It uses a live rye sourdough starter, a long cold proof for maximum flavor, and a hot Dutch oven to nail that bakery-quality spring and crust. It is not a quick weeknight project. It is a weekend ritual, and every single minute is worth it.
Why Rye Flour Makes Sourdough So Much Better
Rye is one of those ingredients that transforms everything it touches. Compared to wheat flour, rye flour is higher in fiber, denser in flavor, and naturally packed with the wild yeasts and bacteria that make sourdough so alive. A rye sourdough starter tends to be more vigorous and more reliable than one made purely with white flour, which is exactly why so many experienced bakers keep a dedicated rye starter on hand.
The flavor profile of a good rye sourdough bread recipe sits somewhere between nutty, earthy, and gently sour. It is complex without being aggressive. The crumb is slightly denser than a classic white sourdough but still open and chewy where it counts. Toast a slice, spread it with good salted butter, and you will understand immediately.
Baker's Note: The higher the rye percentage in your dough, the stickier and less elastic it becomes. Rye contains very little gluten-forming protein, so do not expect it to behave like a classic wheat dough. Embrace the stickiness and work with wet hands instead of adding more flour.
Building Your Rye Sourdough Starter
If you already have an active sourdough starter, you have two options. You can feed it with rye flour for two or three consecutive feedings to convert it into a proper rye starter. Or you can simply use your existing starter alongside rye flour in the dough. Both approaches work well.
If you are building a rye starter recipe from scratch, the process is straightforward. Combine equal weights of dark rye flour and room-temperature water in a clean jar. Stir well, cover loosely, and leave at room temperature. Feed daily with the same ratio, discarding about half each time. Within 5 to 7 days, you should see consistent bubble activity, a domed rise, and a pleasantly sour smell. That is a healthy, active starter ready to leaven bread.
Always use your starter at peak activity, when it is visibly bubbly, has domed on top, and passes the float test (a small spoonful dropped into water should float).
The Tools and Ingredients That Actually Make a Difference
Good sourdough rye bread does not require a professional kitchen, but a few key tools make the process significantly smoother. A Dutch oven is non-negotiable for getting that bakery crust. A banneton proofing basket helps the loaf hold its shape during the cold proof. A sharp lame or razor blade gives you clean, confident scoring.
For flour, choose a quality whole grain dark rye flour for maximum flavor. The difference between a generic rye flour and a freshly milled whole grain version is genuinely noticeable in the final loaf.
How to Get the Most Flavor From Your Rye Sourdough
The secret to a truly exceptional sourdough rye bread is time and temperature. Two specific techniques make the biggest difference.
1. A proper bulk fermentation. Do not rush this stage. The dough needs enough time for the wild yeast to do its work and for the acids to develop. Look for a 50 percent increase in volume and a slightly domed, jiggly surface. In a warm kitchen (75 to 78 degrees F), this takes around 4 to 6 hours. In a cooler kitchen, budget up to 8.
2. A cold overnight proof. After shaping, retarding the dough in the refrigerator for 8 to 16 hours is the single best thing you can do for flavor. The cold slows yeast activity while the bacteria continue producing lactic and acetic acids. The result is a noticeably more complex, sour, and aromatic loaf.
Pro Tip: Score your loaf confidently and at an angle. A hesitant score tears the dough rather than opening it cleanly. One swift, decisive motion with a very sharp blade is all it takes.
What to Expect From the Crumb and Crust
Because rye flour is low in gluten, your rye sourdough bread crumb will be denser and more compact than a high-hydration white sourdough. That is not a flaw. It is exactly what makes this bread ideal for slicing thin, piling high with smoked salmon and cream cheese, or using as a sturdy base for an open-faced sandwich.
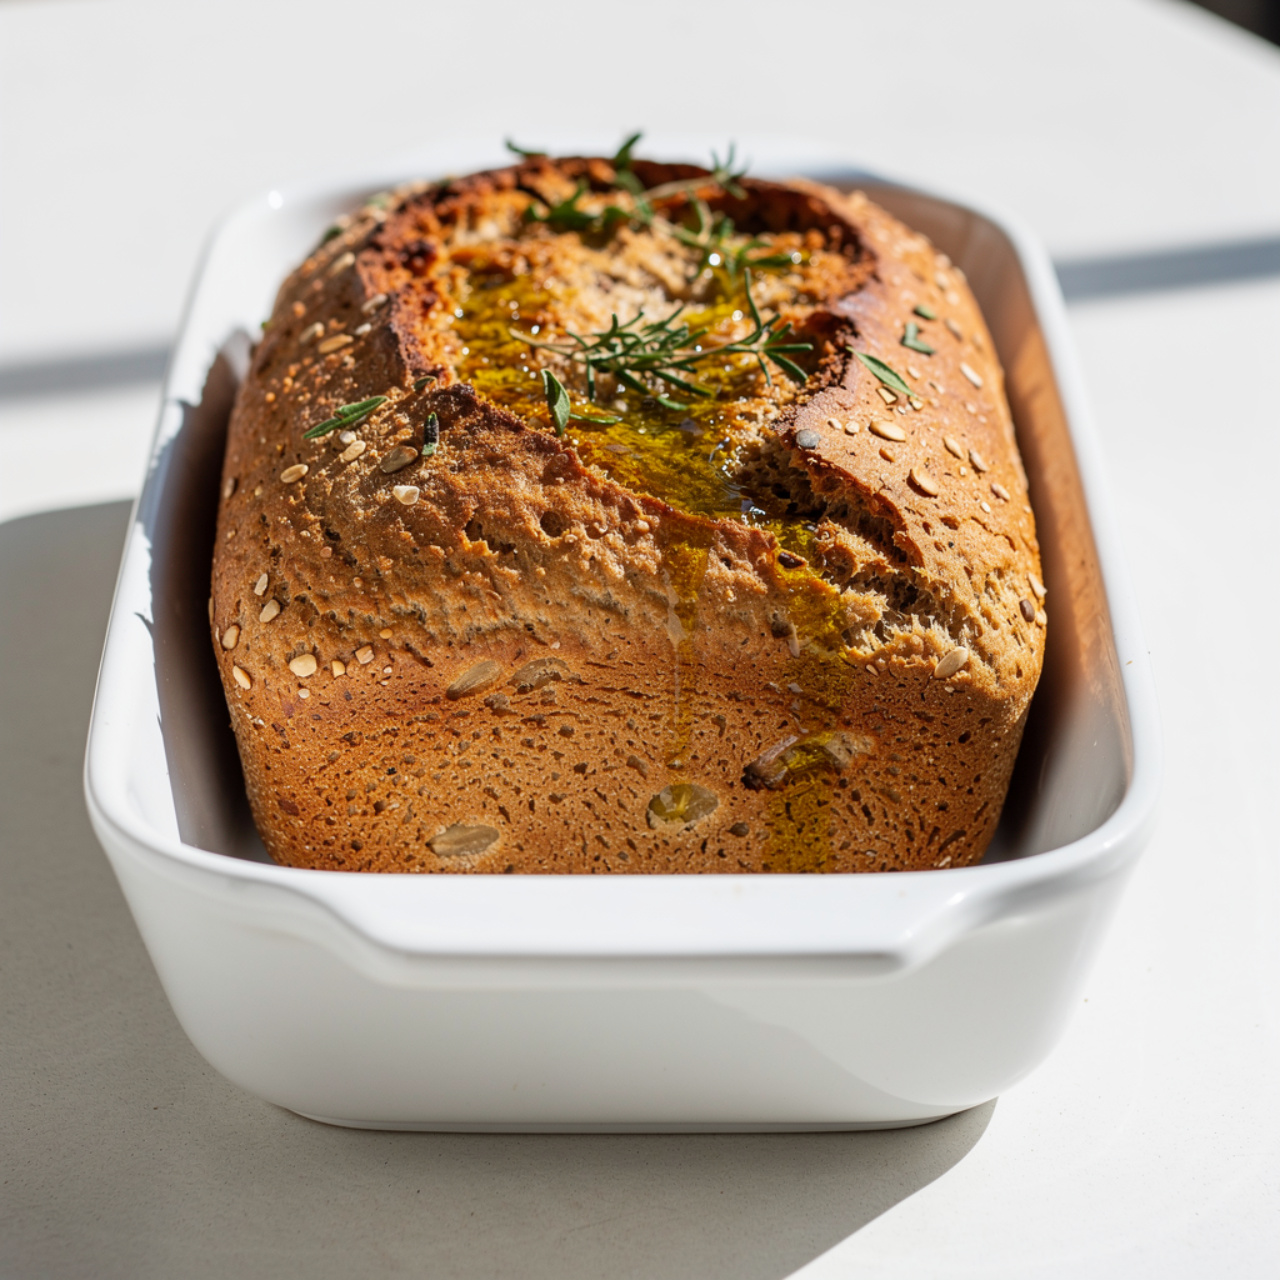
The crust bakes up deep brown, almost mahogany, with a satisfying crunch that softens slightly by day two. The aroma as it bakes is extraordinary. Warm caraway, toasted rye, and a hint of sourness drifting through the kitchen is one of the better things in life.
Ready to bake your own loaf? Here is everything you need:
Sourdough Rye Bread Recipe (Deeply Flavorful and Perfectly Tangy)
This sourdough rye bread recipe delivers a deeply tangy, hearty loaf with a crisp crust and chewy crumb using a rye sourdough starter. Perfect for sandwiches, toast, or alongside soup.
Ingredients
- 1/2 cup active rye sourdough starter, fed and bubbly, at peak activity
- 1 1/2 cups dark rye flour, whole grain preferred
- 2 cups bread flour, plus extra for dusting
- 1 1/4 cups warm water, around 80 degrees F
- 1 1/2 tsp fine sea salt
- 1 tbsp caraway seeds, optional but traditional
- 1 tsp honey or barley malt syrup, feeds the starter and adds subtle depth
Instruction
The night before baking, feed your rye sourdough starter with equal parts rye flour and water. Let it sit at room temperature for 8 to 12 hours until bubbly and doubled in size.
In a large mixing bowl, combine the warm water, active starter, and honey. Stir until loosely combined.
Add the dark rye flour, bread flour, and salt. Mix with a wooden spoon or dough scraper until no dry flour remains. The dough will feel sticky and dense due to the rye content. This is normal.
If using caraway seeds, fold them in now. Cover the bowl with a damp towel or plastic wrap and let the dough rest for 30 minutes (autolyse).
Perform 4 sets of stretch and folds over the next 2 hours, spaced 30 minutes apart. Wet your hand before each set to prevent sticking. The dough will become slightly more cohesive but remain tacky.
After the final fold, cover the dough and let it bulk ferment at room temperature for 4 to 6 hours until it has grown by about 50 percent and looks slightly domed on top. In cooler kitchens, this may take up to 8 hours.
Turn the dough gently onto a lightly floured surface. Shape it into a round or oval loaf using a bench scraper to build surface tension. Place it seam-side up into a well-floured banneton or a bowl lined with a floured kitchen towel.
Cover and refrigerate the shaped loaf for 8 to 16 hours for a slow cold proof. This cold retard deepens the sour flavor significantly.
When ready to bake, place your Dutch oven into the oven and preheat to 500 degrees F (260 degrees C) for at least 45 minutes.
Carefully remove the Dutch oven. Turn the cold dough out onto a sheet of parchment paper, seam-side down. Score the top with a sharp lame or razor blade at a 30 to 45 degree angle, making one decisive slash or a crosshatch pattern.
Lower the dough (on the parchment) into the hot Dutch oven. Place the lid on and bake for 20 minutes.
Remove the lid and reduce the oven temperature to 450 degrees F (230 degrees C). Bake for another 22 to 25 minutes until the crust is deep mahogany brown and the internal temperature reads 205 to 210 degrees F.
Transfer the loaf to a wire rack and let it cool for at least 1 hour before slicing. Cutting too early results in a gummy crumb.
Equipment
- Large mixing bowl
- Dough scraper or bench scraper
- Banneton proofing basket or mixing bowl with kitchen towel
- Dutch oven (5 to 6 quart)
- Parchment paper
- Lame or sharp razor blade
- Instant-read thermometer
- Wire cooling rack
Notes
Serving Ideas and Storage Tips
This rye sourdough recipe is endlessly versatile. Here are a few favorite ways to use it:
- Classic open-face sandwich: Top with cream cheese, smoked salmon, capers, and thinly sliced red onion.
- Avocado toast elevated: The earthy rye flavor pairs beautifully with ripe avocado and a flaky salt finish.
- Soup companion: Thick slices alongside a bowl of borscht or a hearty lentil soup are a perfect match.
- Simple breakfast: Toasted with salted butter and a drizzle of honey is genuinely one of the best breakfasts you can make.
For storage, wrap the fully cooled loaf in a linen bread bag or a clean kitchen towel and keep it at room temperature for up to 4 days. Avoid sealing it in plastic, which traps moisture and softens the crust prematurely. For longer storage, freeze sliced portions and toast directly from frozen whenever you need them.
The flavor of this bread genuinely improves on day two and day three as the crumb sets and the sourness mellows into something more rounded. If you can resist cutting in immediately, the patience pays off.