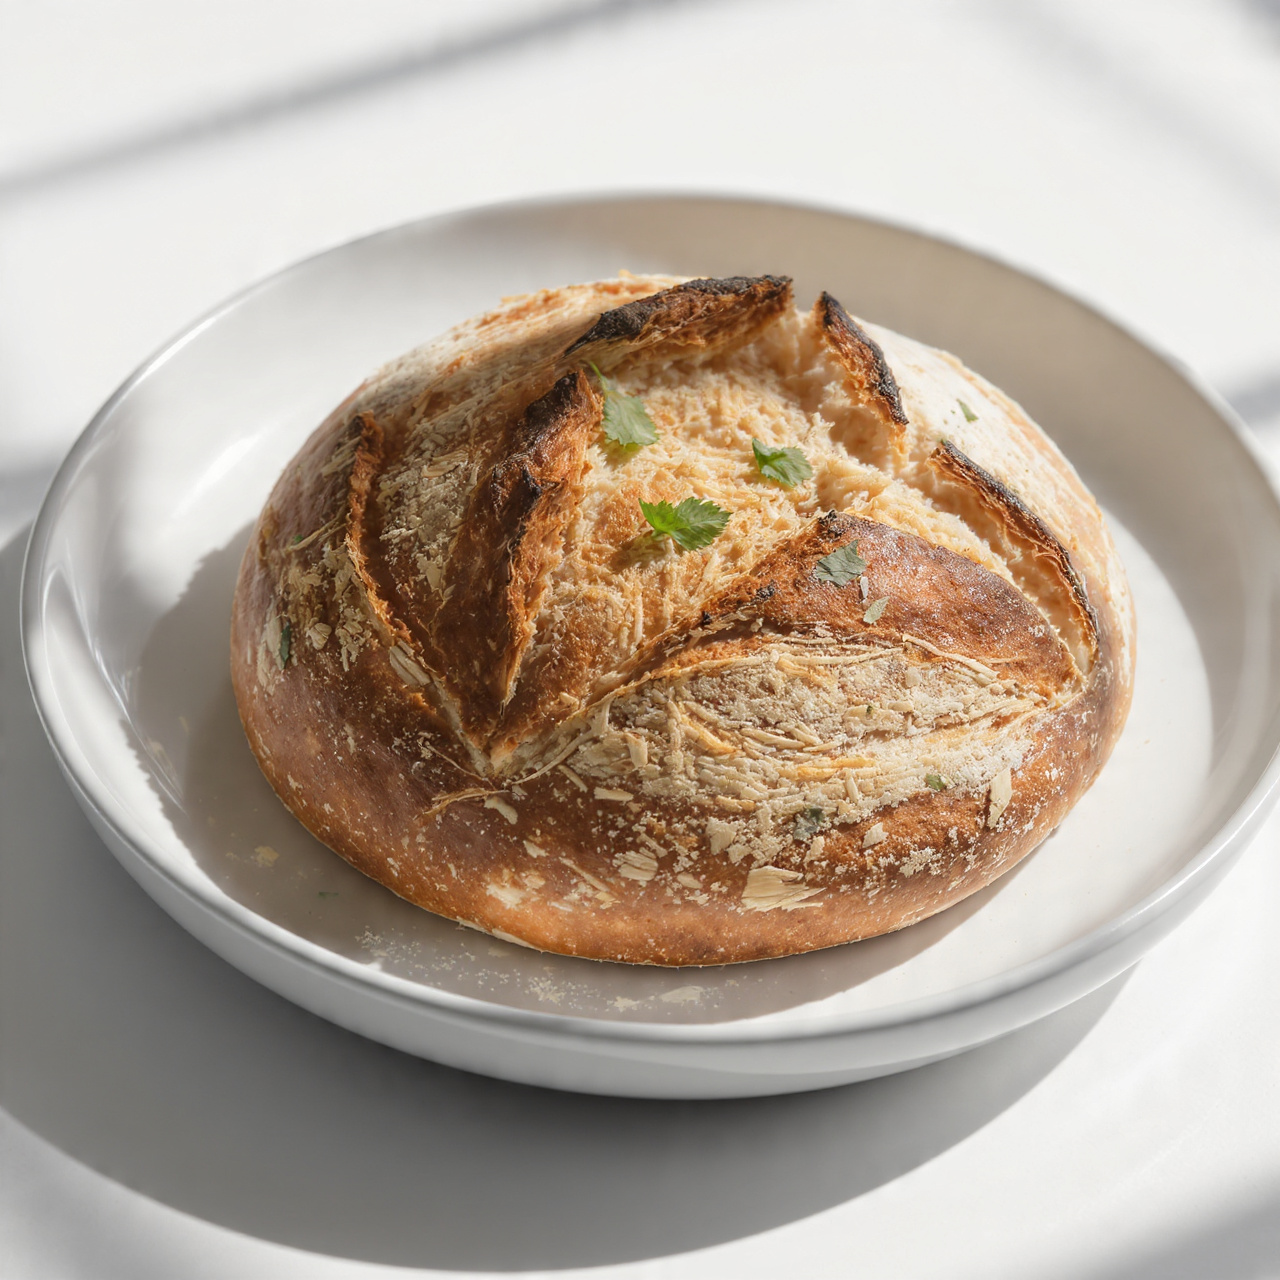
Homemade Sourdough Bread: The Only Recipe You'll Ever Need
This foolproof homemade sourdough bread recipe delivers a crackling golden crust and open, chewy crumb using nothing but flour, water, salt, and your sourdough starter. Whether you're a beginner or a seasoned baker, this guide walks you through every step.

The Sourdough Bread You Have Been Waiting to Make
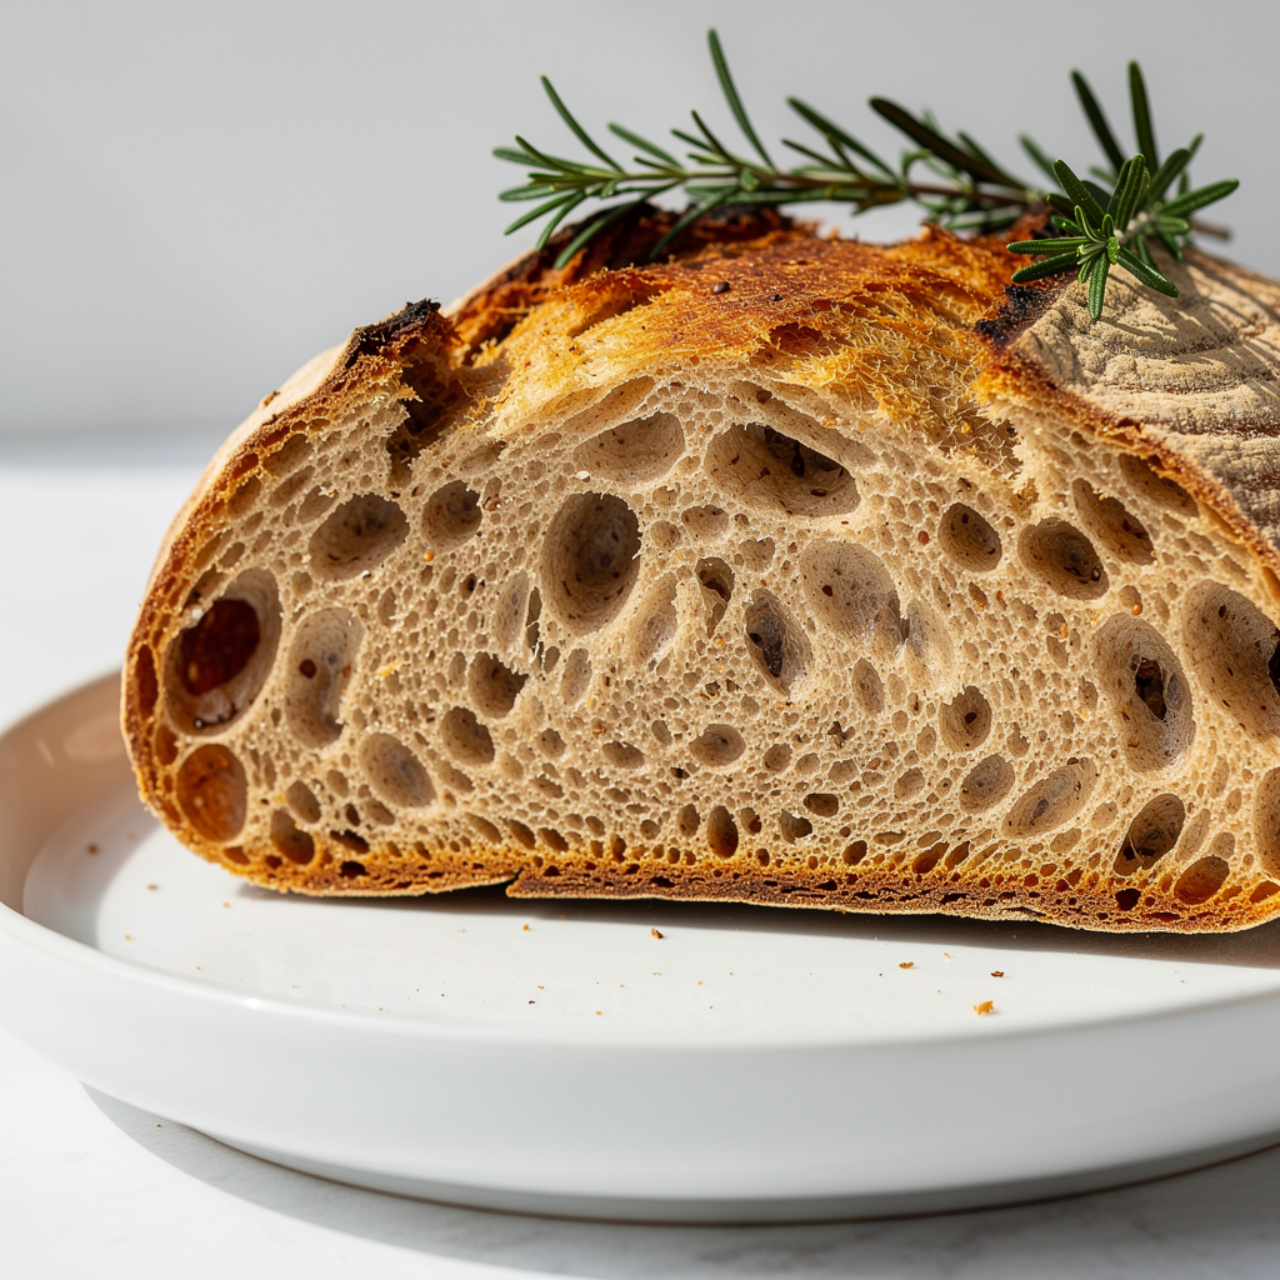
There is something almost magical about pulling a round, deeply bronzed loaf out of a Dutch oven, hearing that crackle as the crust cools, and knowing you made it with nothing but flour, water, salt, and a bubbly jar of sourdough starter sitting on your counter. This is the homemade sourdough bread recipe that turns nervous beginners into confident bakers, and it is the one you will come back to for years.
Sourdough baking traces its roots back thousands of years, long before commercial yeast existed. Known in Spanish-speaking households as pan de masa madre, this ancient bread relies on wild fermentation rather than a packet from the grocery store. The result is a loaf with a complexity of flavor, a chewy open crumb, and a shelf life you simply cannot get from store-bought bread.
What Makes This Sourdough Starter Recipe Different
There are hundreds of sourdough bread recipes out there. What sets this one apart is the emphasis on understanding rather than just following steps. Sourdough is a living process, and once you understand why each step happens, you can adapt to your kitchen, your starter, and your schedule.
Here is what this recipe focuses on:
- A single overnight cold proof that builds flavor and fits any schedule
- Stretch-and-fold technique instead of exhausting kneading
- A hot Dutch oven that replicates a professional bread oven at home
- Clear visual cues so you know when the dough is actually ready, not just when the clock says so
Your sourdough starter is the heart of this recipe. Feed it 4 to 8 hours before you plan to mix the dough and wait until it is visibly bubbly and at its peak rise. A sluggish starter means a flat loaf, full stop.
The Right Tools for Sourdough Baking
Using quality tools genuinely changes your results here. A well-seasoned Dutch oven traps steam in those first critical minutes of baking, creating the blistered, crackling crust that defines great sourdough. A bench scraper and a sharp bread lame make shaping and scoring infinitely easier and more precise.
Understanding Bulk Fermentation
Bulk fermentation is the phase after mixing where the dough rises and develops flavor through the activity of wild yeast and beneficial bacteria in your sourdough starter. This is the most important stage of sourdough baking.
During this time, you will perform stretch-and-fold sets. These build gluten strength without degassing the dough. Simply grab one side, stretch it upward as far as it goes without tearing, then fold it over the center. Four folds complete one set. You are looking for the dough to become smoother, more elastic, and noticeably puffier by the end.
Baker's Tip: Bulk fermentation timing depends on your kitchen temperature, not just the clock. A warm kitchen (75 to 80 degrees F) may finish in 4 hours. A cool kitchen (68 degrees F) could take 6 to 8 hours. Watch the dough, not the timer.
The dough is ready when it has grown by roughly 50 percent, feels airy to the touch, has bubbles forming on the sides and surface, and jiggles like a soft gelatin when you shake the bowl gently.
Shaping and the Cold Proof
Shaping sourdough is a skill that improves with repetition. The goal is to create surface tension on the outside of the loaf, which supports the structure during baking and helps you get that beautiful ear when you score it.
After shaping, the dough goes into a well-floured banneton (proofing basket) and straight into the refrigerator. This cold proof does two things. First, it dramatically improves flavor through slow fermentation. Second, cold dough is firmer and far easier to score cleanly before it hits the Dutch oven. This is the stage where your sourdough starter discard recipe notes diverge from an active-starter loaf; here, full leavening power is non-negotiable.
Important: Dust your banneton generously with rice flour rather than bread flour. Rice flour does not absorb moisture the way wheat flour does, so your dough releases cleanly every single time.
How to Score and Bake Your Sourdough
Scoring is not just decorative. A confident score with a lame held at a 45-degree angle gives the loaf a controlled direction to expand, creating that iconic raised ear. A straight-down cut tends to seal shut in the oven.
The Dutch oven is your best friend here. Preheat it inside your oven for at least 45 minutes so it is searingly hot when the dough goes in. Baking with the lid on for the first 20 minutes traps steam from the dough itself, keeping the crust pliable just long enough for maximum oven spring. Removing the lid finishes the crust to a deep, crackly brown.
Ready to bake your own loaf? Here is the complete step-by-step recipe:
Homemade Sourdough Bread: The Only Recipe You'll Ever Need
This foolproof homemade sourdough bread recipe delivers a crackling golden crust and open, chewy crumb using nothing but flour, water, salt, and your sourdough starter. Whether you're a beginner or a seasoned baker, this guide walks you through every step.
Ingredients
- 4 cups bread flour, plus more for dusting; all-purpose works but bread flour gives better structure
- 3/4 cup active sourdough starter, fed and bubbly, at peak activity
- 1 1/4 cups warm water, around 80 degrees F for optimal fermentation
- 1 1/2 tsp fine sea salt, do not skip; controls fermentation and builds flavor
- 2 tbsp rice flour, for dusting the banneton or bowl to prevent sticking
Instruction
Feed your sourdough starter 4 to 8 hours before baking. It should be bubbly, active, and at its peak rise before you begin.
In a large bowl, combine the warm water and active sourdough starter. Stir until the starter is fully dissolved into the water.
Add the bread flour and mix with your hands or a dough scraper until no dry flour remains. Cover and let rest for 30 minutes. This is called the autolyse.
Sprinkle the sea salt over the dough and use your fingers to work it in, folding the dough over itself several times until fully incorporated.
Over the next 4 hours, perform 4 sets of stretch-and-folds, one set every 30 minutes. To do a set, grab one side of the dough, stretch it up, then fold it over the center. Rotate the bowl and repeat 3 more times.
After the final fold, leave the dough to bulk ferment at room temperature for 2 to 4 more hours, until it has grown by about 50 percent and looks airy with bubbles on the surface.
Lightly flour your work surface. Turn the dough out and use a bench scraper to pre-shape it into a loose round. Let it rest uncovered for 20 minutes.
Dust a banneton or a bowl lined with a floured kitchen towel generously with rice flour. Shape the dough into a tight boule by folding the edges into the center, then flipping it seam-side down. Use your hands to drag it toward you on the counter to build surface tension.
Place the dough seam-side up into the prepared banneton. Cover with a shower cap or plastic wrap and refrigerate overnight, or for 8 to 16 hours.
When ready to bake, place a Dutch oven with its lid into the oven and preheat to 500 degrees F (260 degrees C) for at least 45 minutes.
Cut a piece of parchment paper to fit the bottom of your Dutch oven. Turn the cold dough out onto the parchment and score the top with a sharp lame or razor blade at a 45-degree angle.
Carefully lower the dough on its parchment into the screaming-hot Dutch oven. Cover with the lid and bake for 20 minutes.
Remove the lid and reduce the oven temperature to 450 degrees F (230 degrees C). Continue baking for 20 to 25 minutes, until the crust is a deep mahogany brown.
Transfer the loaf to a wire rack and let it cool for at least 1 hour before slicing. Cutting too soon releases steam and makes the crumb gummy.
Equipment
- Large mixing bowl
- Bench scraper
- Banneton proofing basket (or a bowl lined with a floured kitchen towel)
- Dutch oven (at least 5-quart)
- Bread lame or sharp razor blade
- Parchment paper
- Wire cooling rack
- Kitchen scale (highly recommended)
Notes
Sourdough Bread Ideas: What to Do With Your Loaf
Once you have mastered the basic sourdough bread recipe, the possibilities open up beautifully. Here are a few directions to take your sourdough baking:
- Pull apart bread: Use the same dough to make a garlic herb pull apart loaf baked in a cast iron skillet
- Sourdough toast bar: Slice thick and serve with whipped ricotta, honey, and fresh fruit
- Croutons and breadcrumbs: Day-old sourdough makes the best croutons for Caesar salad
- Avocado toast: The tang of sourdough cuts through rich avocado perfectly
- French toast: Thick slices of day-old sourdough absorb custard beautifully
And do not overlook your sourdough starter discard. Rather than throwing it away, use it in waffles, fluffy pancakes, pizza dough, and crispy crackers for a subtle sour depth that store-bought recipes simply cannot replicate.
Final Thoughts on Sourdough Baking
Sourdough baking rewards patience and observation more than any other kind of cooking. Your first loaf may not be perfect, and that is completely expected. Each bake teaches you something about your starter, your flour, and your kitchen. Keep notes, adjust, and enjoy every imperfect slice along the way.
This is more than a sourdough bread recipe. It is a ritual worth repeating every single week.