Sourdough French Bread
This homemade sourdough French bread recipe delivers a crackling golden crust and an open, chewy crumb using your sourdough starter for incredible tangy flavor. Perfect for beginners and seasoned bakers alike.

The Sourdough French Bread Recipe That Will Change Your Baking
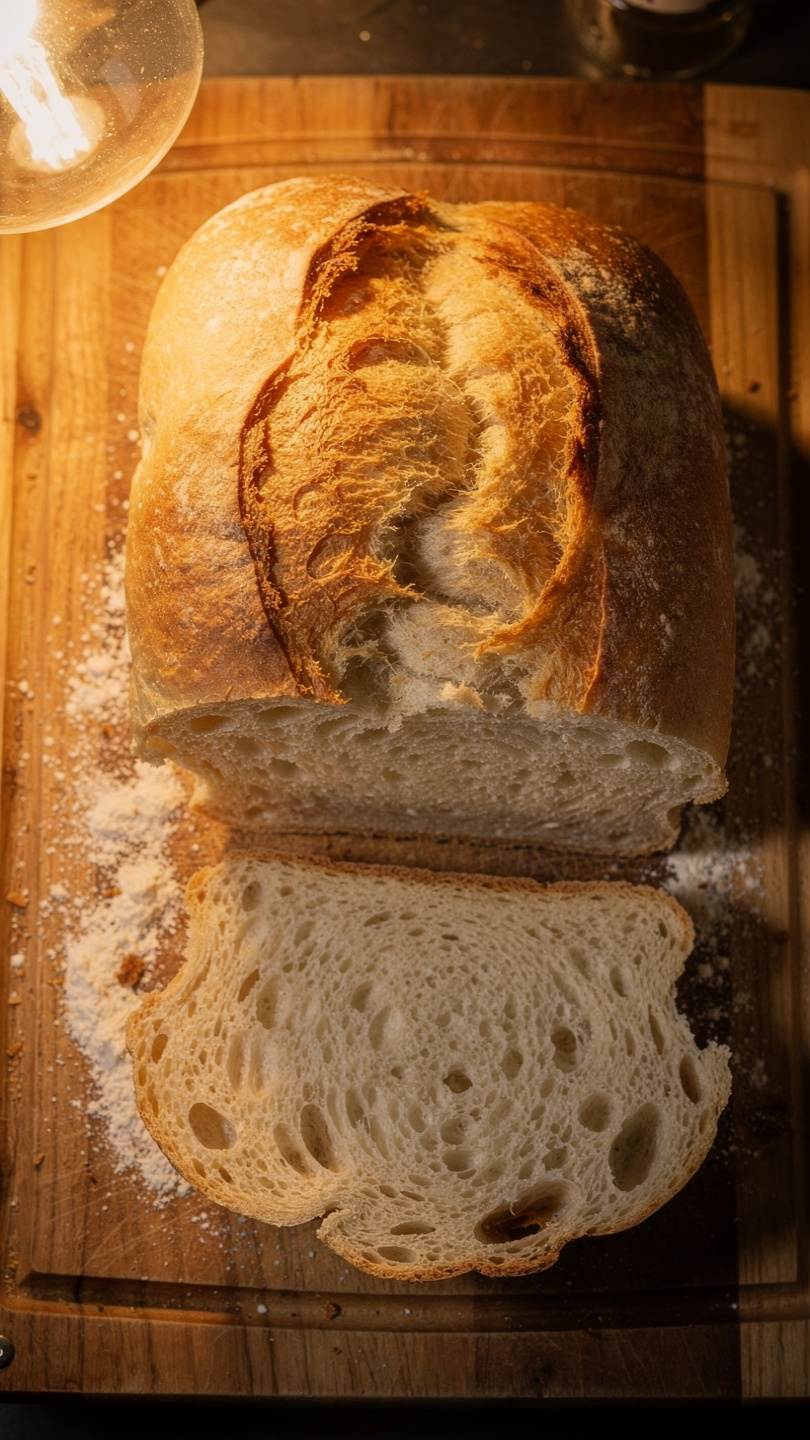
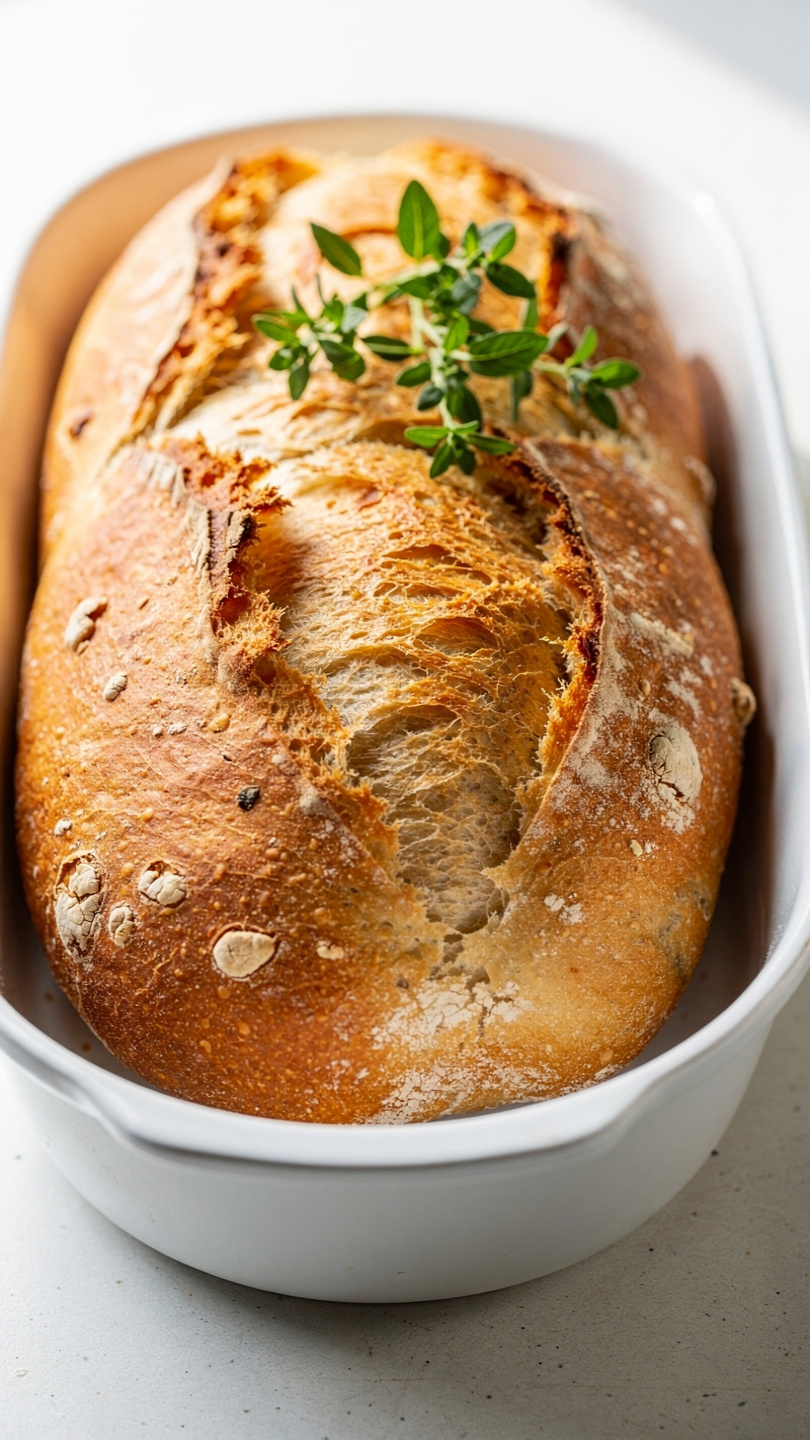
There is something almost magical about pulling a homemade sourdough French bread loaf from the oven. The crust shatters when you tap it, the kitchen smells like a Paris boulangerie, and that first slice reveals an airy, chewy crumb with just the right amount of tang. This is a recipe using sourdough starter that rewards a little patience with truly extraordinary results.
Whether you stumbled across this while searching for a French bread recipe, looking for a great sourdough starter discard recipe to use up your weekly feed, or you are on the hunt for the best sourdough starter recipe to build your repertoire, you have landed in the right place. This guide walks you through every step with warmth, clarity, and no unnecessary fuss.
Before we get into the dough, a quick word about tools and ingredients. Sourdough baking is forgiving in many ways, but a reliable kitchen scale, a good Dutch oven, and a sharp bread lame make a genuine difference between a good loaf and a great one. These are the tools that actually earn their counter space.
Why Sourdough Makes Better French Bread
Traditional French bread loaf recipes rely on commercial yeast for a quick rise. Sourdough changes the entire equation. The wild yeast and beneficial bacteria in your starter work more slowly, breaking down complex starches and developing acetic and lactic acids that give the bread its signature tang. The result is a loaf that is not only more flavorful but also more digestible and longer-lasting.
This homemade sourdough bread recipe follows the classic French cuisine recipe philosophy of doing less so each element can shine. Flour, water, salt, and a thriving starter. That is it.
Chef's Tip: Your starter is the heart of this recipe. It should be bubbly, active, and at peak rise when you mix your dough. If it floats in water, it is ready. If it sinks, feed it and give it another 4 to 6 hours.
Understanding the Process Before You Begin
This sourdough French bread recipe unfolds over roughly 16 to 24 hours, but almost all of that time is hands-off fermentation. The actual active work totals about 30 to 40 minutes. Here is a simple breakdown of what happens at each stage:
- Mixing and autolyse: The flour drinks in the water, making kneading nearly unnecessary.
- Stretch and fold: Instead of vigorous kneading, you gently build gluten strength over a couple of hours.
- Bulk fermentation: The dough rises slowly at room temperature, developing flavor the whole time.
- Shaping and cold proof: An overnight rest in the fridge deepens the tang and firms the dough for scoring.
- Baking in a Dutch oven: Trapped steam in the first 20 minutes creates that signature crackle crust.
If you have ever made French bread French toast with a store-bought baguette and wished the bread had more character, this is the upgrade you have been looking for.
Tips for Getting an Open, Airy Crumb
A tight, dense crumb is the most common frustration for home bakers tackling homemade sourdough bread recipes. Here is what actually moves the needle:
- Use a well-hydrated dough. Higher water content leads to a more open crumb. Do not be tempted to add extra flour if the dough feels sticky during mixing.
- Do not rush bulk fermentation. Underfermented dough bakes up dense. Look for visible bubbles on the surface and around the edges, plus a 50 percent volume increase.
- Score confidently. Shallow or hesitant scoring restricts oven spring. Use one quick, decisive motion at a 30-degree angle.
- Bake covered first. The steam released inside the Dutch oven keeps the crust pliable long enough for the loaf to fully expand before it sets.
Chef's Tip: Cold dough scores more cleanly. If your shaped loaves have been proofing at room temperature rather than in the fridge, pop them in the freezer for 15 minutes before scoring.
How to Use This Bread
This French bread loaf is incredibly versatile. Serve it warm alongside soups and stews, slice it thick for French bread French toast the next morning, or toast it with butter and a sprinkle of flaky salt as a simple appetizer. Leftovers that have gone slightly stale are perfect for croutons or a rustic panzanella salad.
If you are new to sourdough, this recipe is also a wonderful entry point for exploring other sourdough starter discard recipes. Once you are comfortable with the timing and feel of the dough, you will find that the process becomes almost meditative.
Ready to bake your best loaf yet? Here is the complete, step-by-step recipe:
Sourdough French Bread
This homemade sourdough French bread recipe delivers a crackling golden crust and an open, chewy crumb using your sourdough starter for incredible tangy flavor. Perfect for beginners and seasoned bakers alike.
Ingredients
- 1/2 cup active sourdough starter, fed and bubbly, at peak activity
- 1 1/4 cups warm water, around 90 degrees F
- 3 1/2 cups bread flour, plus more for dusting
- 1 1/2 tsp fine sea salt
- 1 tbsp olive oil, for greasing the bowl
Instruction
In a large bowl, combine the active sourdough starter and warm water. Stir until the starter is fully dissolved and the mixture looks milky.
Add the bread flour and sea salt. Mix with a wooden spoon or your hands until no dry flour remains. The dough will look shaggy at this point, which is perfectly fine.
Cover the bowl with a damp towel or plastic wrap and let the dough rest for 30 minutes. This rest period, called autolyse, allows the flour to fully hydrate.
Perform 4 sets of stretch and folds over the next 2 hours, spacing them 30 minutes apart. To do a set, grab one side of the dough, stretch it upward, then fold it over the center. Rotate the bowl 90 degrees and repeat until you have gone all the way around.
After the final fold, cover the bowl and let the dough bulk ferment at room temperature for 4 to 8 hours, until it has grown by about 50 percent and looks bubbly and airy. Timing depends on the temperature of your kitchen.
Lightly flour a clean work surface and gently turn the dough out. Divide it into two equal pieces. Shape each piece into a long oval baguette-style loaf by folding the sides inward, then rolling it gently toward you to create surface tension.
Place each loaf on a piece of parchment paper dusted with flour. Dust the tops lightly with flour, cover loosely with plastic wrap, and refrigerate overnight or for at least 8 hours for the cold proof.
When ready to bake, place a Dutch oven or covered baking vessel in the oven and preheat to 475 degrees F (245 degrees C) for at least 45 minutes.
Score the tops of the loaves with a sharp lame or serrated knife using confident, quick diagonal slashes about 0.5 inch deep.
Carefully transfer one loaf (with its parchment paper) into the hot Dutch oven. Cover with the lid and bake for 20 minutes. Remove the lid and bake for another 15 minutes until the crust is deeply golden and the internal temperature reads 205 degrees F.
Transfer to a wire rack and cool for at least 45 minutes before slicing. Repeat with the second loaf.
Equipment
- Large mixing bowl
- Digital kitchen scale
- Bench scraper
- Dutch oven or covered cast iron pot
- Bread lame or serrated knife
- Parchment paper
- Wire cooling rack
- Instant-read thermometer
Notes
Serving and Storing Your Sourdough French Bread
Let the loaves cool fully before cutting, at least 45 minutes. Cutting into hot bread releases steam prematurely and can make the crumb gummy, even if the outside looks perfect.
For storing, keep the bread cut-side down on a wooden board at room temperature. Avoid plastic bags for the first day or two, as they trap humidity and soften the crust. If you want to preserve that crackling exterior for longer, a paper bag or a clean linen towel is your best friend.
For longer storage, slice the entire loaf and freeze it flat on a sheet pan before transferring to a zip-top bag. Individual frozen slices go straight into the toaster whenever a craving strikes, making this one of the most practical homemade sourdough bread recipes you will ever add to your rotation.
Happy baking!