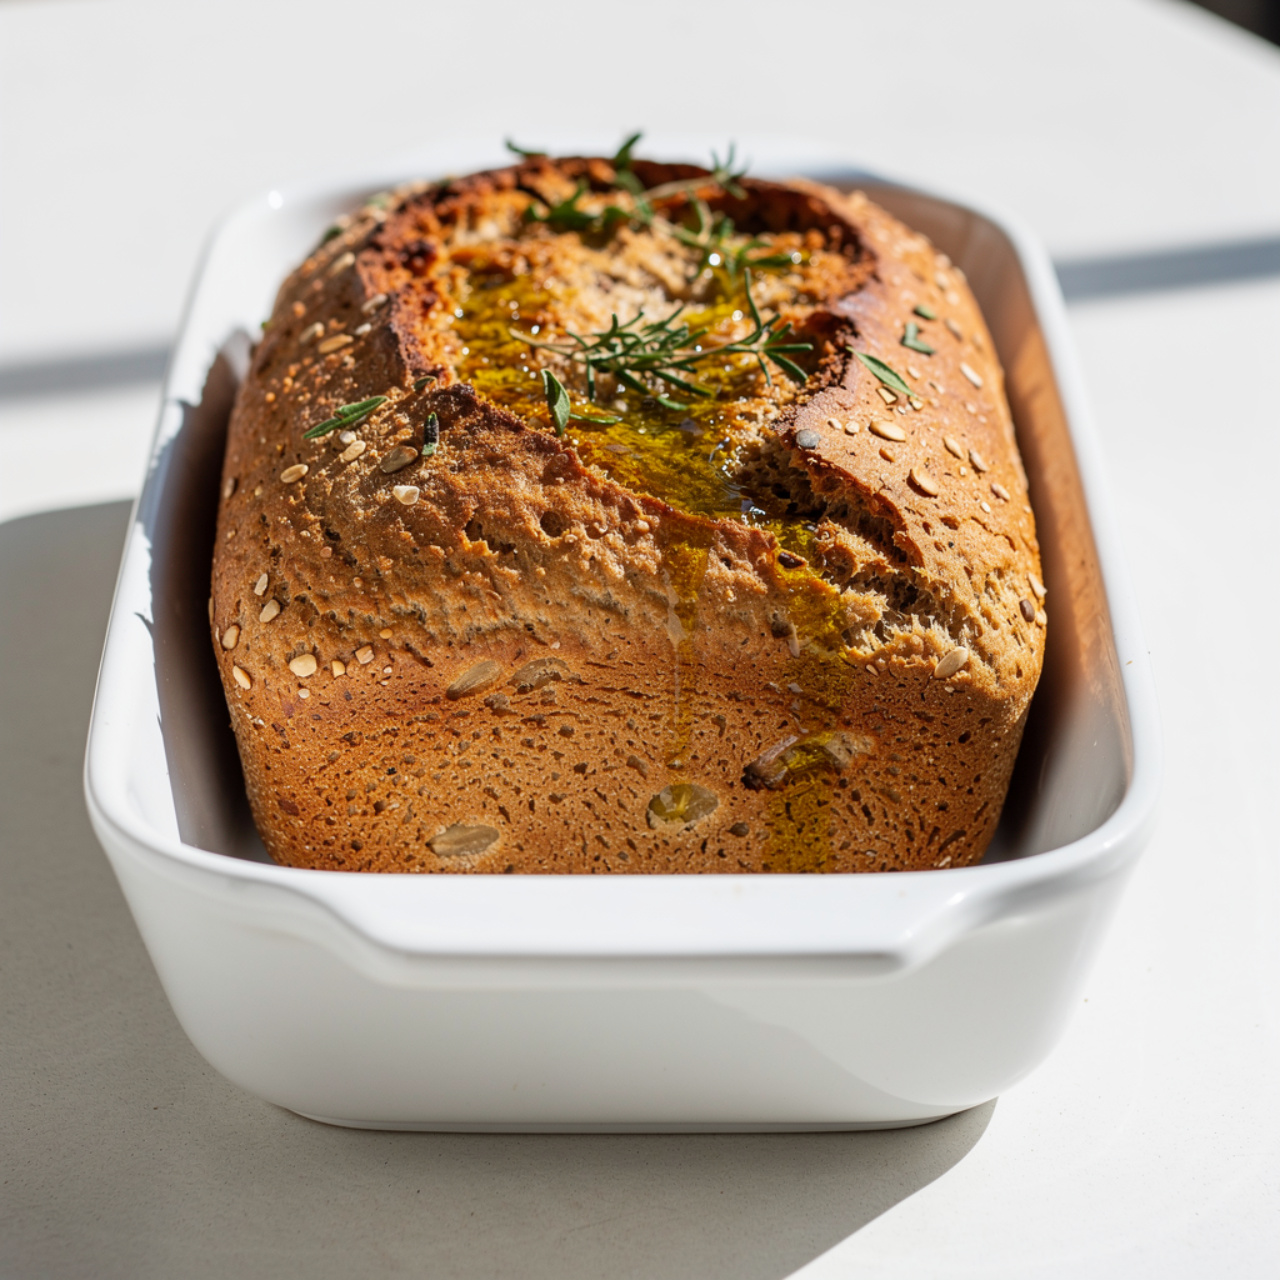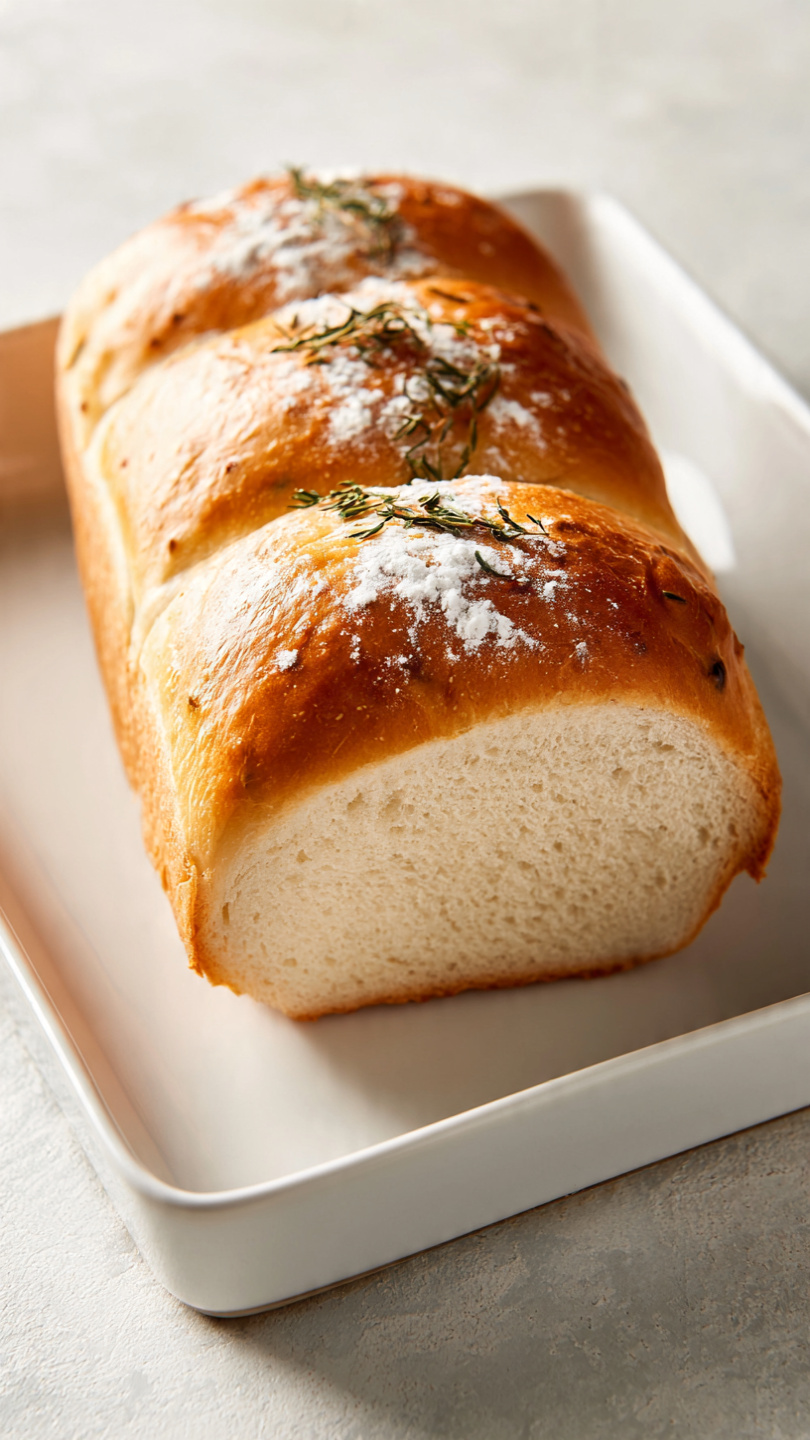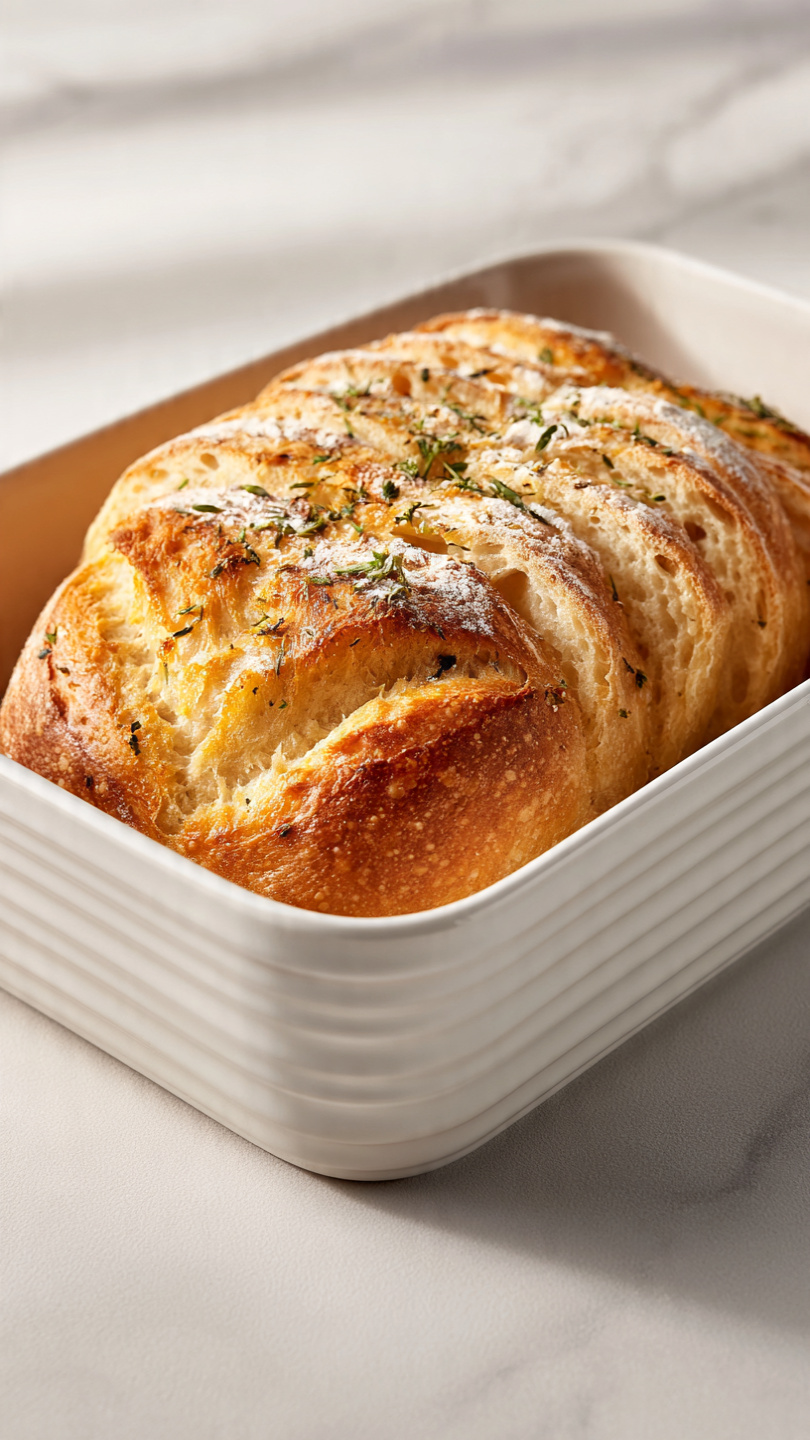
Sourdough Bread Machine Recipe (Beginner-Friendly and Foolproof)
This sourdough bread machine recipe gives you a tangy, chewy, golden loaf with minimal effort. Perfect for beginners learning how to start sourdough bread at home.

The Easiest Way to Get Started With Sourdough Bread at Home
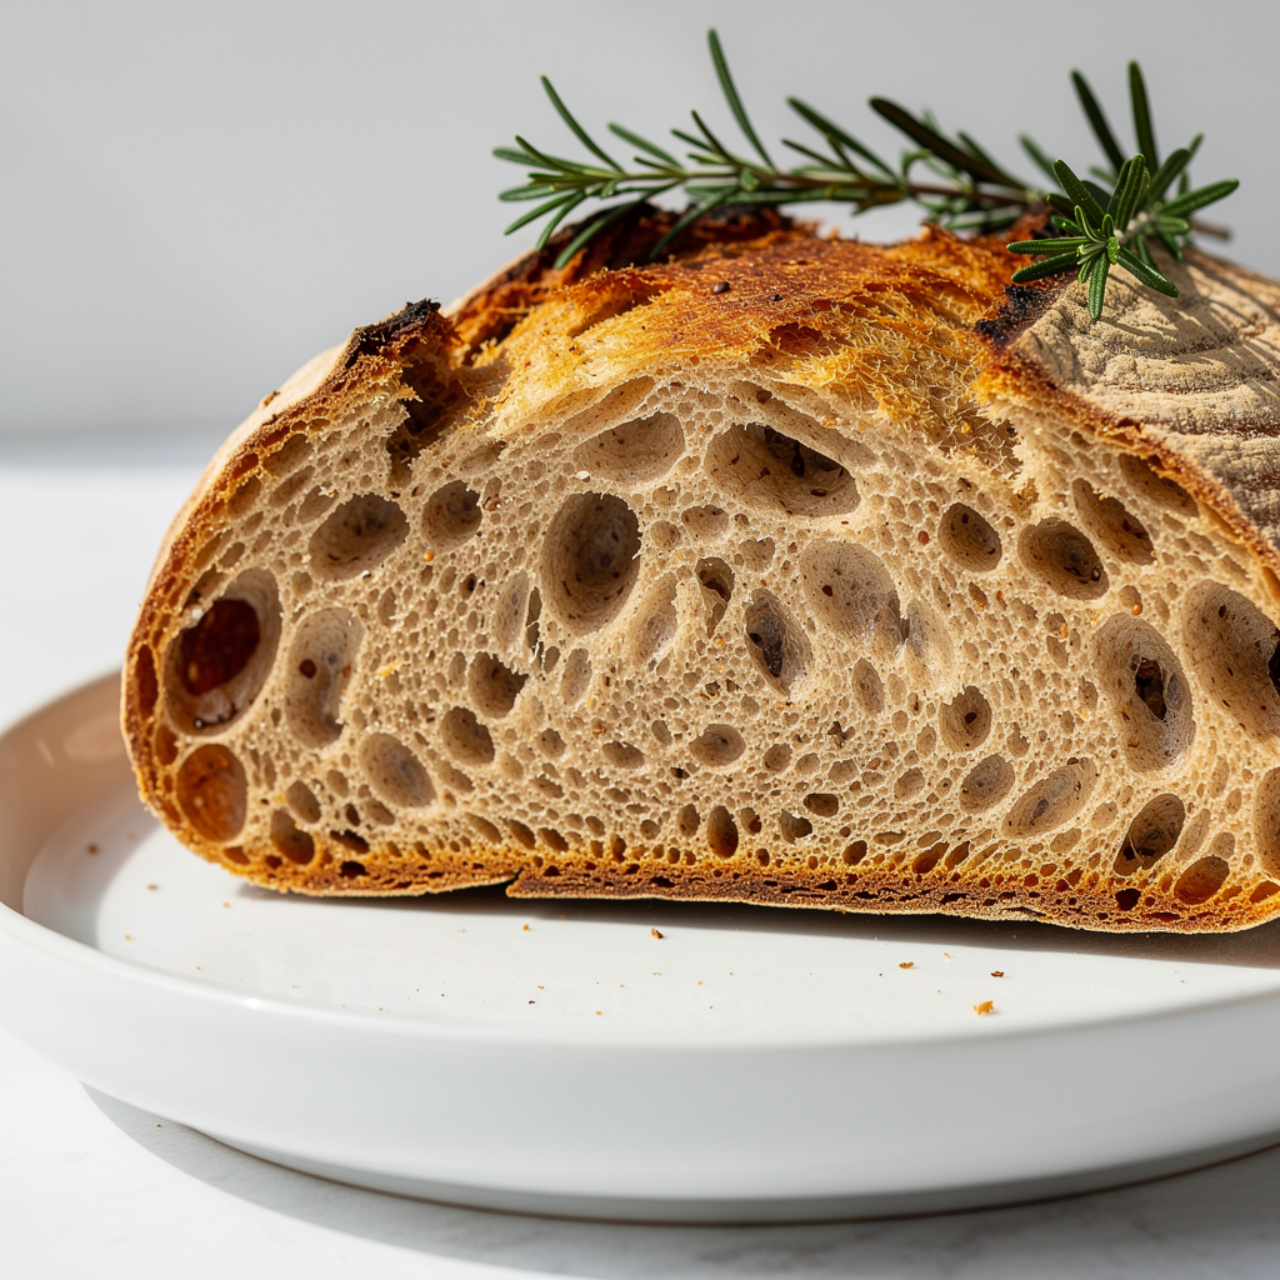
If you have always wanted to learn how to start making sourdough bread but felt intimidated by all the folding, timing, and guesswork, this recipe is your answer. By using a bread machine to handle the heavy kneading and initial fermentation, you get all the complex flavor and open crumb of real sourdough without hovering over your dough for hours. It is the smartest, most beginner-friendly way to get started with sourdough in your own kitchen.
Sourdough bread is not just a trend. It is one of the oldest forms of baking in human history, and understanding how sourdough bread started helps you appreciate every single slice. For thousands of years before commercial yeast existed, bakers relied entirely on wild fermentation, capturing natural yeasts and bacteria from the air and flour to leaven their bread. That tangy, complex flavor you love in a great sourdough loaf? That is living culture doing its work.
What You Actually Need to Start Sourdough
Before we dig into the recipe, let us talk about what you need to start sourdough so you are fully prepared. The good news is the list is short.
The one non-negotiable is an active sourdough starter. This is a fermented mixture of flour and water that you maintain over time. If you do not have one yet, you can create one from scratch in about 5 to 7 days, or ask a fellow baker to share some of theirs. Many local bakeries also give starter away for free.
Beyond the starter, you need:
- Bread flour for structure and chew (all-purpose works too)
- Fine sea salt for flavor
- A bread machine with at least a Dough cycle
- A Dutch oven or loaf pan for the oven finish
- An instant-read thermometer to know when your loaf is done
Having the right tools genuinely makes a difference with sourdough. A reliable bread machine with a proper dough cycle and a heavy Dutch oven for baking are two investments that will repay you hundreds of times over.
Why Use a Bread Machine for Sourdough?
Here is something most sourdough tutorials do not tell you: the bread machine is not cheating. It is a tool, and using it wisely gives you a consistently better loaf than hand-mixing does on a busy weekday morning.
The machine handles the kneading phase with far more consistency than most home bakers can manage by hand for 10 to 12 minutes straight. That thorough kneading develops gluten properly, which is what gives your sourdough that characteristic chewy, open crumb.
Chef's Tip: Only use the Dough cycle on your bread machine, never the full bake cycle. Sourdough ferments much more slowly than commercial yeast breads, and the machine's bake timer is not calibrated for it. Finishing the loaf in your oven is the key to that gorgeous, crackly crust.
The other reason this method works so well for beginners is consistency. When you are figuring out how to start making sourdough, having one less variable to worry about, which is the kneading, lets you focus on the things that actually matter: your starter's activity level and your fermentation time.
The Secret Is in Your Starter
If there is one thing to obsess over when learning how to bake sourdough bread daily, it is the health of your starter. A bubbly, active starter that has doubled after feeding is the engine of this entire recipe.
Here is how to know your starter is ready to bake with:
- It has roughly doubled in size since its last feeding
- The surface is domed and bubbly, not flat
- It smells pleasantly tangy, like yogurt or mild vinegar
- The float test passes: a small spoonful dropped in water floats
If your starter sinks or smells off, feed it again and wait. Patience here saves you from a dense, flat loaf every time.
How to Get the Best Flavor From This Recipe
The real magic of sourdough is time. After the bread machine's dough cycle finishes, resist the urge to shape and bake immediately. Leaving the dough in the machine with the lid closed for an extra 2 to 4 hours of bulk fermentation is where the deep, complex tang develops.
The longer the ferment, the more pronounced the sourdough flavor. If you love a milder loaf, go for 2 hours. If you want that classic bakery-style tang, push it to 4 hours.
Scoring the top of the loaf just before it goes into the oven is also not just for looks. That slash gives the bread a controlled place to expand, preventing blowouts on the sides and giving you that signature sourdough ear on top.
Ready to bake your best loaf yet? Here is everything you need in one place:
Sourdough Bread Machine Recipe (Beginner-Friendly and Foolproof)
This sourdough bread machine recipe gives you a tangy, chewy, golden loaf with minimal effort. Perfect for beginners learning how to start sourdough bread at home.
Ingredients
- 1 cup active sourdough starter, fed and bubbly, at peak activity
- 1/2 cup warm water, around 80 degrees F
- 3 cups bread flour, plus extra for dusting
- 1 1/2 tsp salt, fine sea salt preferred
- 1 tbsp honey, or white sugar as a substitute
- 2 tbsp olive oil, extra virgin, for a softer crust
Instruction
Make sure your sourdough starter is active and bubbly. It should have been fed 4 to 8 hours before use and be at its peak rise. This is the most important step for a good loaf.
Add all ingredients into the bread machine pan in the order recommended by your machine's manufacturer. Most machines prefer liquids first: pour in the warm water, sourdough starter, and olive oil.
Add the bread flour on top of the liquids, creating a mound. Sprinkle the salt on one side and make a small well in the center of the flour for the honey.
Select the Dough cycle on your bread machine. Do not use the standard bread cycle, as sourdough needs a much longer, slower fermentation than commercial yeast and the machine's bake cycle alone won't develop proper flavor.
Let the machine run the full dough cycle, which usually takes about 1.5 hours. Check the dough after the first 5 minutes of kneading. It should form a smooth, slightly tacky ball. If it is too sticky, add flour 1 tablespoon at a time. If it is too dry, add water 1 teaspoon at a time.
Once the dough cycle is complete, leave the dough in the machine with the lid closed for an additional 2 to 4 hours to allow for bulk fermentation. The dough should nearly double in size and feel airy and jiggly.
Lightly flour your work surface and turn the dough out. Gently shape it into a tight oval or round loaf without overworking it.
Place the shaped loaf into a lightly greased 9x5 inch loaf pan or onto a parchment-lined baking sheet. Cover loosely with plastic wrap or a damp towel and let it rest for 30 to 60 minutes at room temperature while you preheat the oven.
Preheat your oven to 450 degrees F (230 degrees C). If you have a Dutch oven, place it in the oven while it preheats for the best crust.
Just before baking, score the top of the loaf with a sharp knife or bread lame, making one confident slash about 0.5 inch deep.
Bake for 20 minutes covered (if using a Dutch oven), then remove the lid and bake for another 20 to 25 minutes until the crust is deep golden brown and the internal temperature reads 205 to 210 degrees F.
Remove the loaf from the oven and let it cool on a wire rack for at least 1 hour before slicing. Cutting into it too early will result in a gummy interior.
Equipment
- Bread machine with a Dough cycle
- Large mixing bowl
- 9x5 inch loaf pan or Dutch oven
- Bench scraper
- Bread lame or sharp serrated knife
- Instant-read thermometer
- Wire cooling rack
- Kitchen scale (optional but recommended)
Notes
Serving, Storing, and Variations
This sourdough bread machine loaf is endlessly versatile. Fresh from the oven, it needs nothing more than good butter. The next day, thick slices make exceptional avocado toast, open-faced sandwiches, or a base for a fried egg.
Flavor variations worth trying:
- Rosemary and sea salt: Add 1 tablespoon of fresh chopped rosemary and a sprinkle of flaky salt before the final bake
- Everything bagel: Brush the scored top with water and press on everything bagel seasoning
- Whole wheat blend: Replace 0.5 cup of bread flour with whole wheat flour for a nuttier, earthier flavor
For storage, wrap your cooled loaf in a clean kitchen towel and keep it at room temperature for up to 3 days. Slice and freeze anything beyond that. Sourdough actually freezes beautifully, and a slice toasted straight from frozen tastes nearly as good as fresh.
Now that you know how to get started with sourdough using your bread machine, the hardest part is waiting for that loaf to cool before you tear into it.