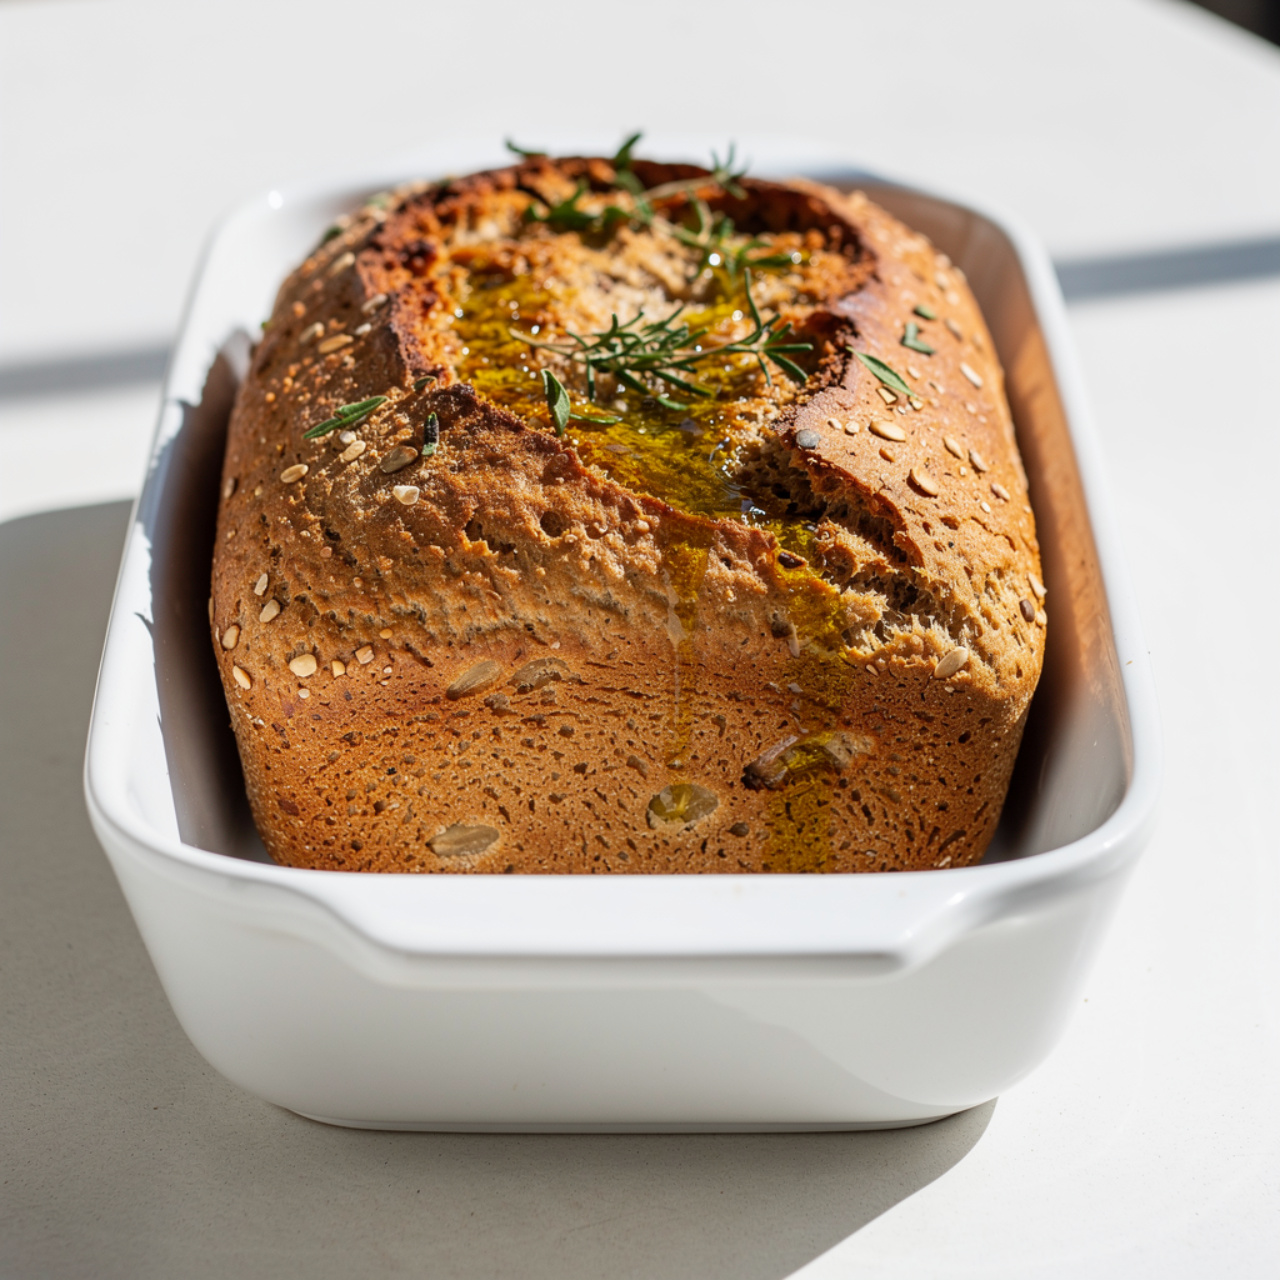
Simple Sourdough Bread Recipe (Soft, Fluffy & Homemade)
This simple sourdough bread recipe delivers a soft, fluffy farmhouse sandwich loaf with that signature tangy flavor, all made from scratch with just a handful of pantry staples.

The Only Homemade Sourdough Sandwich Bread You Will Ever Need
There is something quietly magical about pulling a golden, fragrant loaf of homemade sourdough sandwich bread out of the oven. Not the rustic, crackly-crusted boule you find at artisan bakeries, but a soft, fluffy farmhouse sandwich loaf with a fine, pillowy crumb that holds up to a thick smear of butter, a towering BLT, or your favorite nut butter without falling apart. That is exactly what this simple sourdough bread recipe delivers.
This is the kind of loaf the Farmhouse on Boone style of home baking made so popular: real ingredients, real fermentation, and real flavor, without being intimidating for everyday home bakers. Whether you are brand new to sourdough or you have been baking from scratch for years, this recipe meets you where you are.
Before we get into the details, let's talk tools and ingredients for a moment. A reliable loaf pan, a good dough whisk, and a quality instant-read thermometer genuinely take the guesswork out of sourdough baking and make every loaf more consistent. These are the kitchen staples that make a real difference:
Why This Sourdough Sandwich Bread Works So Well
Most sourdough recipes are written for open-crumb, high-hydration loaves that require Dutch ovens, steam injection, and a fair amount of experience. This recipe takes a different approach. By using a standard loaf pan and a moderately hydrated dough, you get:
- A soft, sliceable crumb that works beautifully for sandwiches and toast
- A golden, slightly chewy crust that is not too thick or too crackly
- A mild, pleasantly tangy flavor from the long overnight fermentation
- A dough that is genuinely forgiving for beginner and intermediate bakers alike
This is what people mean when they talk about Easy Soft Sandwich Sourdough. It is not dumbed down. It is just designed for real life.
The Star of the Show: Your Sourdough Starter
The single most important ingredient in any sourdough recipe is your starter, and this one is no different. For the lightest, fluffiest sourdough sandwich bread, you want your starter to be:
- Fed within the last 4 to 8 hours
- Actively bubbly and at or near its peak rise
- At room temperature, not cold from the fridge
A sluggish or unfed starter will still ferment the dough, but it will take much longer and the rise will be less impressive. If you are working with sourdough discard, see the notes section for tips on adjusting the recipe.
Chef's Tip: Drop a small spoonful of your starter into a glass of water. If it floats, it is ready to bake with. If it sinks, give it another hour or two after feeding before mixing your dough.
Bread Flour vs. All-Purpose Flour for Sandwich Sourdough
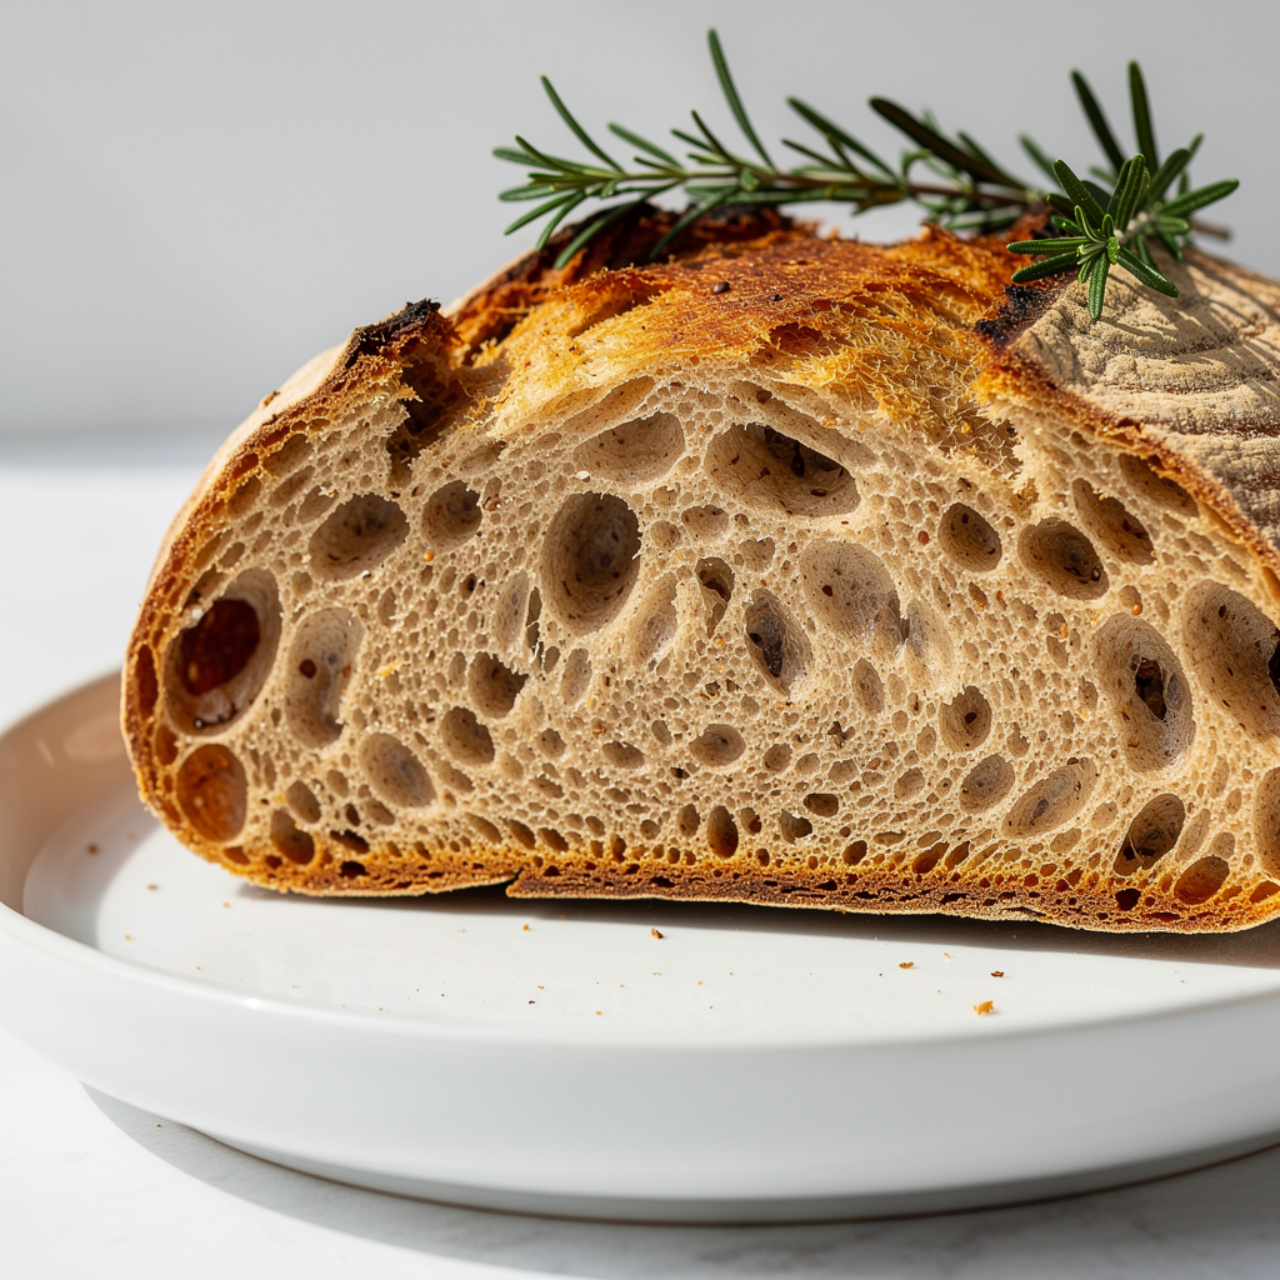
Bread flour is the move here. Its higher protein content (around 12 to 14 percent) builds stronger gluten strands, which gives you that characteristic light, fluffy sourdough sandwich bread crumb structure. The loaf holds its shape better during the final rise and bakes up taller with a tighter, more uniform slice.
That said, all-purpose flour works perfectly well if that is what you have. The crumb will be slightly softer and a touch more delicate, but the flavor and overall result are still wonderful. Just reduce the water by about 2 tablespoons to account for the lower absorption.
Understanding the Two-Stage Rise
This recipe uses a bulk fermentation followed by a final proof, which is standard for sourdough. Here is what to expect at each stage:
Bulk Fermentation (8 to 12 hours): This is the long, slow rise where all the flavor develops. The wild yeast in your starter consumes the sugars in the flour, producing carbon dioxide that makes the dough rise and organic acids that give sourdough its signature tang. In a cool kitchen, this can take up to 14 hours. In a warm kitchen, check at 7 hours.
Final Proof (1 to 2 hours): After shaping and placing the dough in the loaf pan, it gets one more shorter rise. You are looking for the dough to crown about 1 inch above the rim of the pan. Do not rush this step. An under-proofed loaf will be dense and may burst aggressively at the score.
Baker's Note: If you want to fit this into a busy schedule, do the bulk fermentation in the refrigerator overnight for up to 18 hours. Cold fermentation slows the yeast without stopping it, and the extra time in the fridge deepens the flavor even further. This is one of the best tips for Sourdough Bread and Made From Scratch Recipes that fit real life.
Ready to Bake? Here Is the Full Recipe:
Simple Sourdough Bread Recipe (Soft, Fluffy & Homemade)
This simple sourdough bread recipe delivers a soft, fluffy farmhouse sandwich loaf with that signature tangy flavor, all made from scratch with just a handful of pantry staples.
Ingredients
- 1/2 cup active sourdough starter, fed and bubbly, at peak activity
- 1 1/4 cups warm water, around 90 to 100 degrees F
- 2 tbsp honey, raw or local preferred
- 2 tbsp olive oil, or melted butter for a richer loaf
- 3 1/2 cups bread flour, spooned and leveled, or use all-purpose flour
- 1 1/2 tsp fine sea salt
Instruction
In a large mixing bowl, whisk together the bubbly sourdough starter, warm water, honey, and olive oil until well combined.
Add the bread flour and fine sea salt. Stir with a wooden spoon or dough whisk until a shaggy dough forms and no dry flour remains.
Turn the dough out onto a lightly floured surface and knead by hand for 8 to 10 minutes, or until the dough is smooth, elastic, and springs back when poked. Alternatively, use a stand mixer with a dough hook on medium speed for 6 to 7 minutes.
Shape the dough into a ball and place it back in the bowl. Cover with a damp towel or plastic wrap and let it bulk ferment at room temperature for 8 to 12 hours, or overnight, until roughly doubled in size. Timing will vary depending on the strength of your starter and the temperature of your kitchen.
Once the dough has doubled, gently punch it down and turn it onto a lightly floured surface. Shape it into a tight log that fits your loaf pan.
Place the shaped dough seam-side down into a greased 9x5 inch loaf pan. Cover loosely and let it rise for 1 to 2 hours at room temperature, until it crowns about 1 inch above the rim of the pan.
Preheat your oven to 375 degrees F (190 degrees C) about 30 minutes before baking.
Score the top of the loaf with a sharp bread lame or serrated knife, making one confident slash down the center.
Bake for 32 to 38 minutes, until the top is deep golden brown and the internal temperature reads 190 to 200 degrees F on an instant-read thermometer.
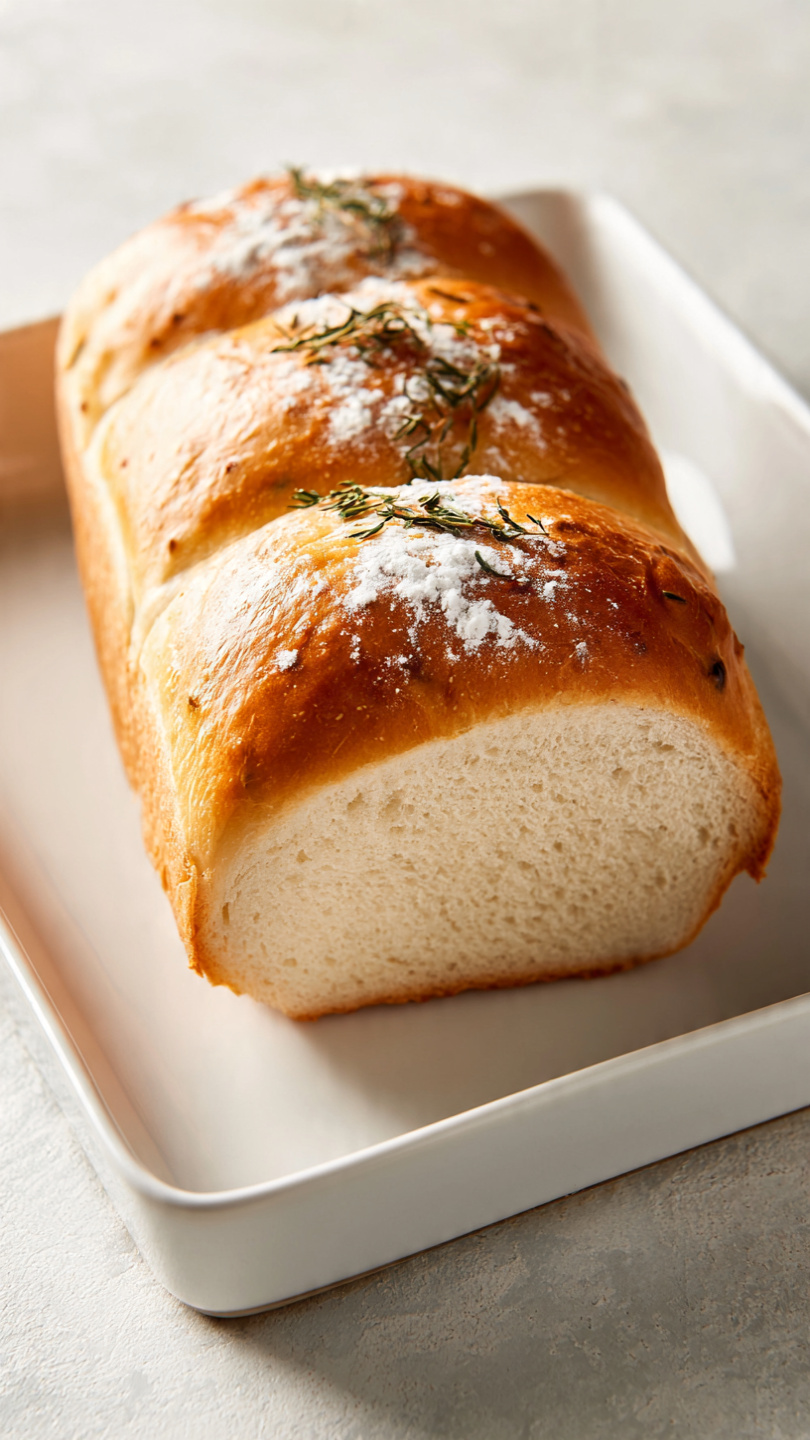
Remove the loaf from the oven and let it cool in the pan for 10 minutes, then transfer to a wire rack to cool completely before slicing, at least 1 hour. Slicing too early releases steam and makes the crumb gummy.
Equipment
- Large mixing bowl
- Dough whisk or wooden spoon
- Stand mixer with dough hook (optional)
- 9x5 inch loaf pan
- Bread lame or serrated knife
- Instant-read thermometer
- Wire cooling rack
Notes
Serving, Storing, and Freezing Your Sourdough Sandwich Loaf
Once your loaf has cooled completely (please wait, the inside is still finishing its job even after it comes out of the oven), the possibilities are wide open.
Serving ideas:
- Classic avocado toast with flaky salt and a squeeze of lemon
- A thick-cut grilled cheese with sharp cheddar
- French toast made with day-old slices for the most incredible custardy result
- Slathered with cultured butter and local honey straight from the loaf
Storage: Wrap the cooled loaf in a beeswax wrap or a fabric bread bag and keep it at room temperature for 2 to 3 days. Sourdough's natural acidity actually helps it stay fresh longer than commercial bread, making it a genuinely practical homemade sourdough sandwich bread for the whole week.
Freezing: Slice the entire loaf before freezing. Lay the slices flat in a single layer on a sheet pan and freeze for 1 hour, then transfer to a zip-top freezer bag. This prevents the slices from sticking together. Pull out exactly what you need and toast straight from frozen whenever the craving hits.
This is the kind of farmhouse sourdough sandwich bread recipe that earns a permanent spot in your weekly rotation, not because it is flashy, but because it is genuinely, reliably, deeply satisfying every single time.