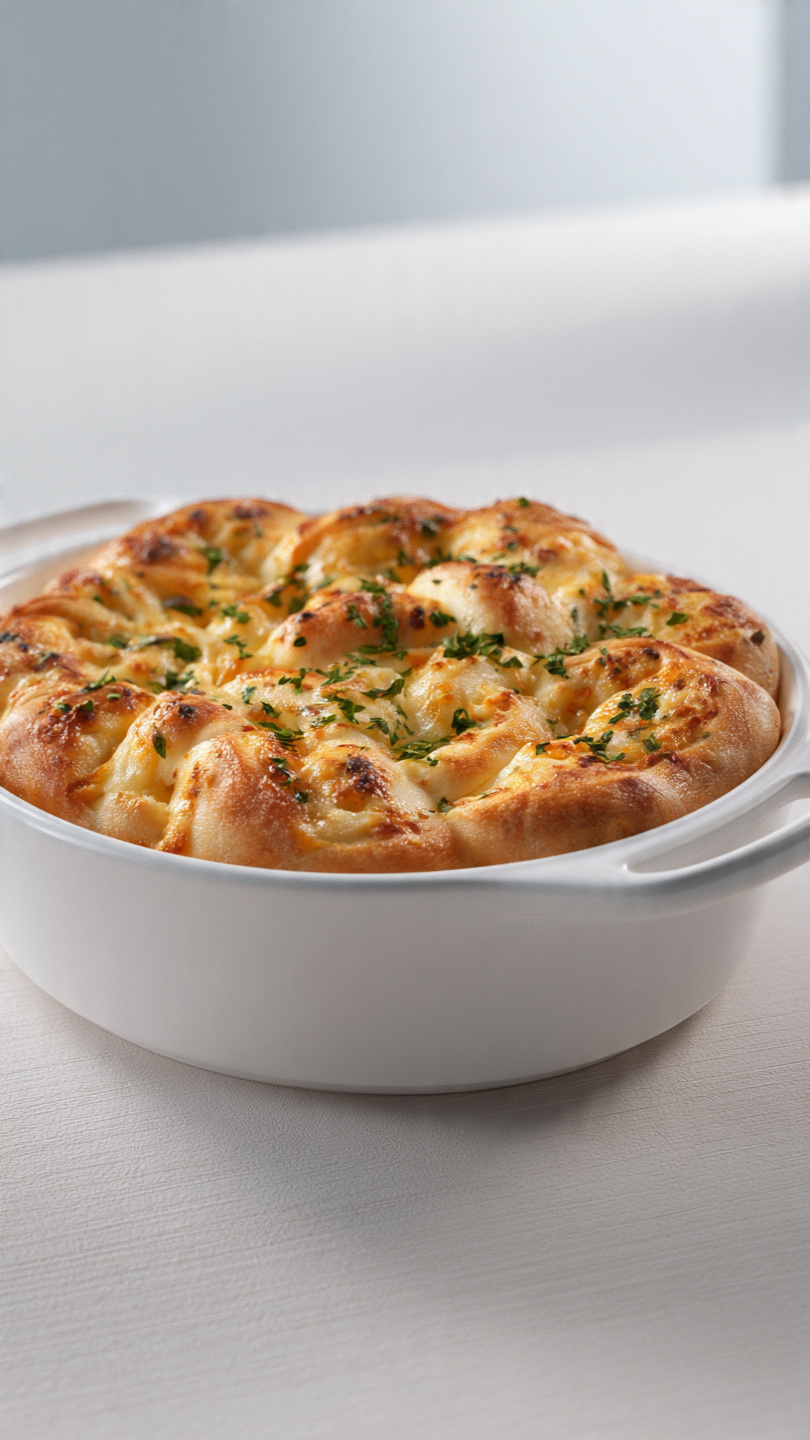
Savory Garlic Herb Bread (Easy Homemade Recipe)
This savory garlic herb bread is soft, golden, and packed with fresh herbs and roasted garlic flavor, the perfect homemade addition to any dinner table.

A Loaf That Steals the Show at Dinner
There is something almost magical about the smell of garlic and herbs wafting from the oven while a loaf of bread turns golden brown. This savory garlic herb bread is one of those bread ideas for dinner that instantly elevates a weeknight meal into something special, without requiring any fancy equipment or hard to find ingredients. It is soft and pillowy on the inside, with a deeply golden, herb flecked crust that practically begs to be torn apart while it is still warm.
If you have been searching for herb dinner recipes that feel a little more impressive than the usual side dish, this one belongs at the top of your list. It pairs beautifully with soups, pastas, roasted meats, or simply a bowl of good olive oil for dipping.
Before we get cooking, it helps to have the right tools and ingredients on hand. A sturdy stand mixer makes kneading effortless, a reliable instant read thermometer ensures your water is the perfect warm temperature to activate the yeast, and a good dutch oven or heavy baking sheet helps the crust develop that signature bakery style crackle. Fresh herbs and good quality olive oil also make a noticeable difference in flavor here, so it is worth choosing well.
Why This Savory Bread Belongs in Your Herb Dinner Recipes Rotation
What sets this loaf apart from a basic dinner roll is the layering of flavor. Garlic and herbs are kneaded right into the dough, then brushed on again after baking while the bread is still hot, so the aroma and flavor really soak in. It is simple enough for beginner bakers, yet the results look like something pulled straight from a bakery shelf.
A few reasons this recipe works so well for dinner:
- The dough comes together with just a handful of pantry staples.
- Fresh herbs like rosemary, thyme, and parsley add brightness without overpowering the bread.
- A double brush of garlic butter, once before baking and once right after, builds rich, savory flavor in every bite.
- The optional parmesan topping adds a salty, slightly nutty finish.
Chef's Tip: Do not rush the rise times. A slow, full rise gives the dough time to develop flavor and structure, which is the difference between a dense loaf and one with that light, airy bakery style crumb.
Shaping a Pretty, Bakery Style Loaf
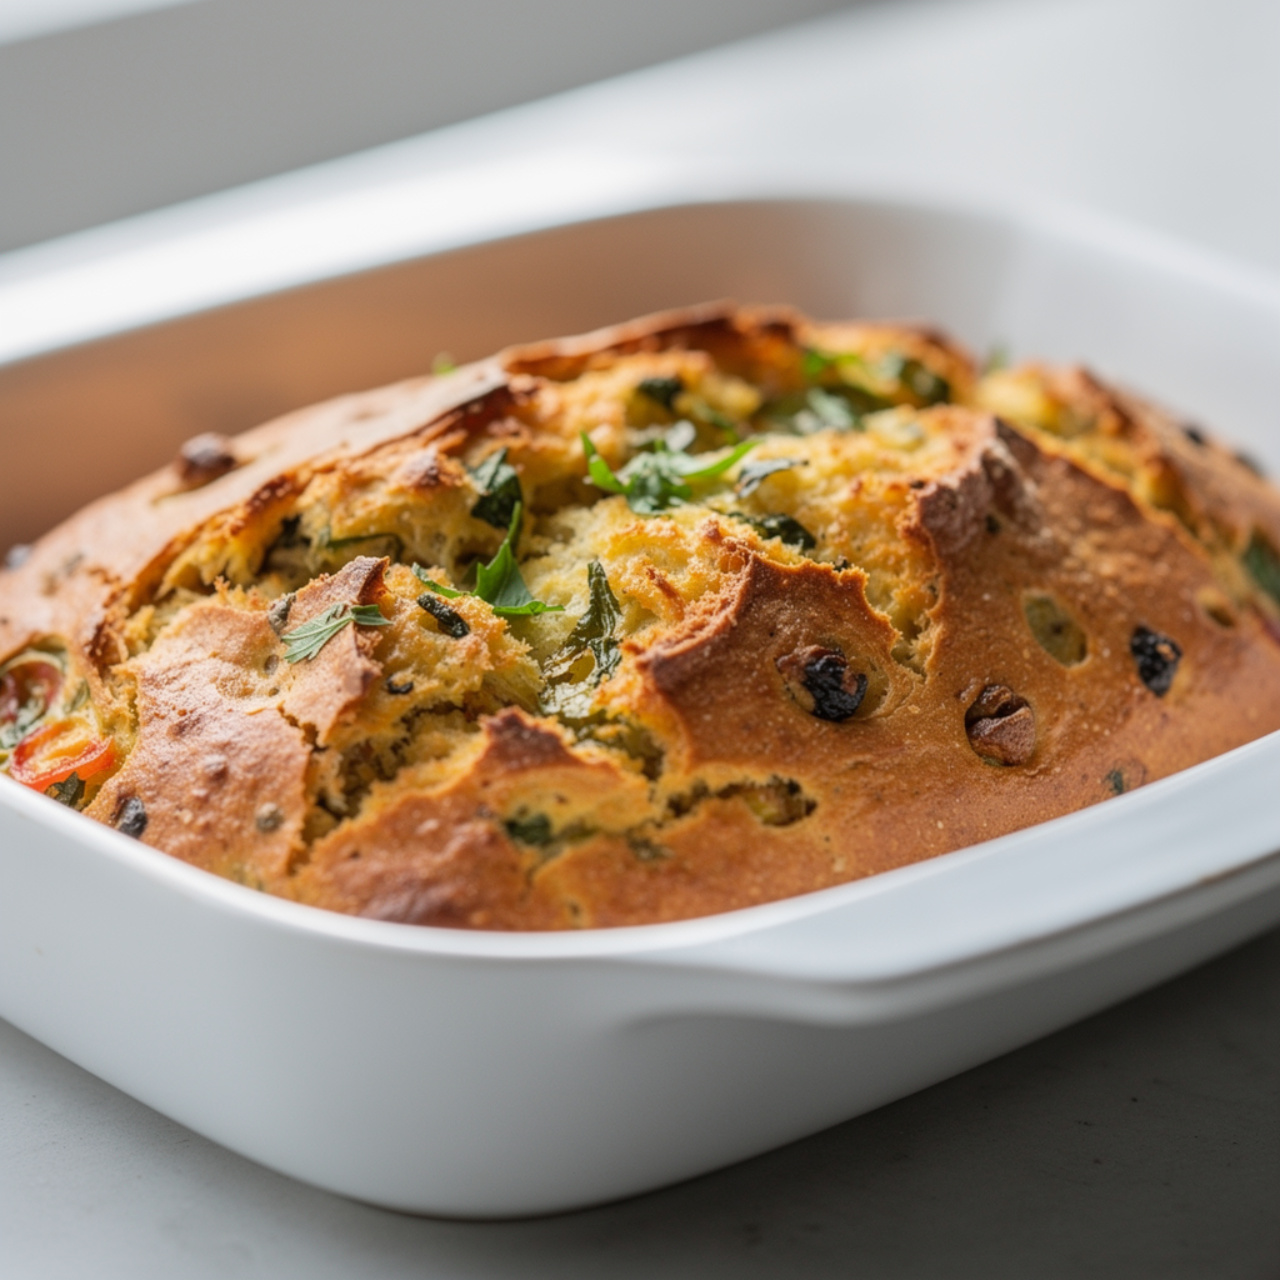
One of the best parts of this recipe is how customizable the shape can be. A classic round boule looks beautiful sliced into wedges at the table, while an oval batard slices neatly for sandwiches or toast the next day. Either way, scoring the top of the dough before baking is what gives the loaf those signature bakery style slashes, and it also helps the bread expand evenly in the oven.
If you want to take this into more advanced bread recipes territory, try braiding the dough into a herb studded plait, or rolling it up jelly roll style with extra garlic and herbs swirled through the center for a beautiful spiral when sliced.
Chef's Tip: If your kitchen is on the cooler side, place the bowl of dough in your oven with just the light on, or near a sunny window, to help it rise at a steady, warm pace.
Step by Step: Bringing It All Together
Once your dough has had its first rise and the herbs are folded in, shaping and the second rise go quickly. A hot oven is essential here for a crisp, golden crust, so make sure it is fully preheated before the loaf goes in.
Ready to make it? Here is the full step by step recipe:
Savory Garlic Herb Bread (Easy Homemade Recipe)
This savory garlic herb bread is soft, golden, and packed with fresh herbs and roasted garlic flavor, the perfect homemade addition to any dinner table.
Ingredients
- 3 cups bread flour or all-purpose flour, plus extra for kneading
- 1 cup warm water, about 110 degrees F, not hot
- 2 1/4 tsp active dry yeast, one standard packet
- 1 tbsp granulated sugar, to activate the yeast
- 1 1/2 tsp fine sea salt, for the dough
- 2 tbsp olive oil, extra virgin, plus more for greasing
- 4 garlic cloves, minced, divided between dough and topping
- 2 tbsp mixed fresh herbs, finely chopped rosemary, thyme, and parsley, plus more for garnish
- 3 tbsp unsalted butter, melted, for brushing
- 1/4 cup grated parmesan cheese, optional, for topping
- 1/2 tsp flaky sea salt, for finishing
Instruction
In a large bowl or the bowl of a stand mixer, combine the warm water, sugar, and yeast. Let it sit for 5 to 10 minutes until foamy and fragrant.
Add the flour, salt, olive oil, and 2 minced garlic cloves to the yeast mixture. Mix until a rough dough forms.
Knead the dough for 8 to 10 minutes by hand on a floured surface, or 5 to 6 minutes with a stand mixer fitted with a dough hook, until smooth and elastic.
Place the dough in a lightly oiled bowl, cover with a damp kitchen towel, and let it rise in a warm spot for 1 to 1.5 hours, or until doubled in size.
Punch down the dough gently and fold in half of the chopped herbs, working them evenly through the dough.
Shape the dough into a round or oval loaf and place it on a parchment-lined baking sheet or into a greased dutch oven.
Cover loosely and let it rise again for 30 to 45 minutes, until puffy.
Preheat the oven to 425 degrees F (220 degrees C). Score the top of the loaf with a sharp knife in a few shallow lines.
Brush the top of the loaf with half of the melted butter and bake for 25 to 30 minutes, until deeply golden and the bottom sounds hollow when tapped.
Remove from the oven and immediately brush with the remaining melted butter mixed with the last garlic clove. Sprinkle with parmesan, remaining herbs, and flaky sea salt. Cool for 10 minutes before slicing.
Equipment
- Large mixing bowl
- Stand mixer with dough hook (optional)
- Kitchen towel
- Baking sheet or dutch oven
- Pastry brush
- Cooling rack
Notes
Serving Suggestions and Tasty Variations
This bread shines as a side for soups, stews, pasta dinners, or a holiday spread, and it also makes excellent garlic toast the next morning. If you are looking for alternative bread recipes to branch out from here, try these simple swaps:
- Stir in shredded cheddar or mozzarella along with the herbs for a cheesy version.
- Add chopped sun dried tomatoes and a pinch of red pepper flakes for a Mediterranean twist.
- Swap half the flour for whole wheat flour for a heartier, nuttier loaf.
Storing Your Bread
This loaf is at its best within the first day or two. Keep it wrapped tightly at room temperature, and refresh slices with a few minutes in a warm oven before serving. For longer storage, slice and freeze the loaf so you can pull out just what you need.
However you serve it, this savory garlic herb bread is the kind of recipe that turns an ordinary dinner into something people remember, and it just might become your new go to bread for dinner.