Rustic Italian Yeast Bread (Crispy, Crusty, and Homemade)
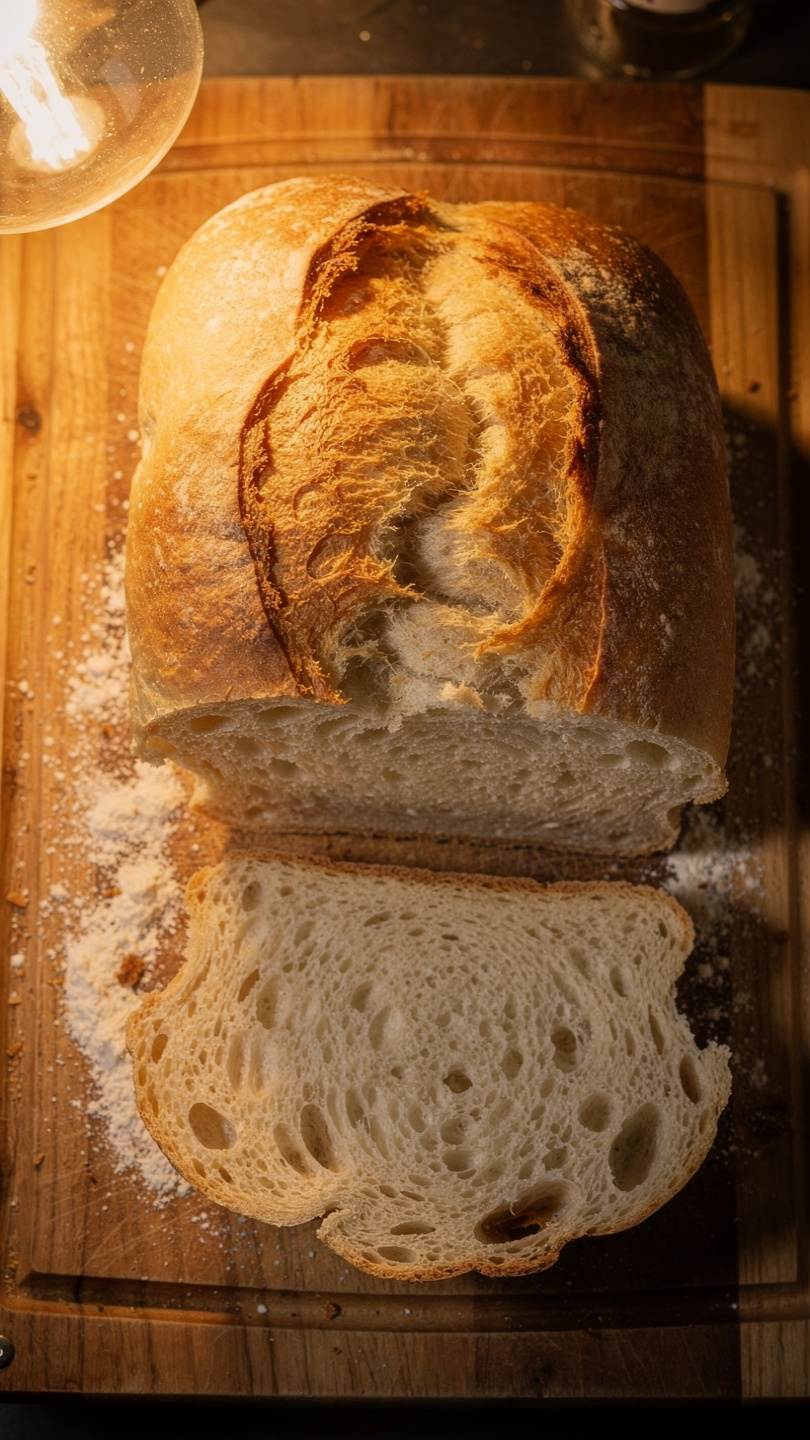
This rustic Italian yeast bread bakes up with a shatteringly crispy crust and a soft, chewy crumb that rivals any artisan bakery. Made with simple pantry ingredients and a Dutch oven, it is the homemade bread recipe you will keep coming back to.

The Homemade Italian Bread You Have Been Waiting to Bake
There is something quietly magical about pulling a golden, crackling loaf of rustic Italian yeast bread from the oven. The sound of that crust shattering when you tap it, the steam rising from the first slice, the chewy, open crumb underneath. It is one of those deeply satisfying kitchen moments that store-bought bread simply cannot replicate.
This recipe is for a crusty Italian bread that is approachable enough for a first-time bread baker but rewarding enough to become a weekend ritual for experienced home cooks. No fancy techniques, no intimidating timelines. Just flour, water, yeast, salt, and a little patience.
The right tools genuinely transform this recipe. A heavy Dutch oven is the single most important piece of equipment for getting that shatteringly crispy crust you see in artisan Italian bread recipes, and using a high-quality bread flour with strong gluten development makes all the difference in achieving that chewy, open crumb.
Why This Rustic Italian Bread Recipe Works
Many homemade bread Italian recipes overcomplicate things or skip steps that actually matter. This one is designed around what works.
- Bread flour over all-purpose: The higher protein content builds more gluten, giving you that characteristic chewy bite in every slice.
- The Dutch oven method: Baking covered for the first 25 minutes traps steam, which keeps the surface of the dough soft long enough for maximum oven spring. Then the lid comes off to develop a deep, burnished, crispy Italian bread crust.
- A proper rest before slicing: Cutting into hot bread releases steam too quickly and gives you a dense, gummy crumb. Waiting 20 to 30 minutes is the step most beginners skip and most regret.
Chef's Tip: For the most flavorful rustic Italian bread recipe homemade bakers can make without a starter, try the overnight cold rise variation in the notes section. Refrigerating the dough overnight develops a complexity that tastes like it took days.
Shaping Your Artisan Italian Bread
Once your dough has doubled, you have two classic shape options. A round boule is the quintessential rustic look, ideal for tearing and sharing at the table. An oval batard is easier to slice and fits better in a sandwich bag for storage.
For either shape, the key is a gentle but confident hand. Over-deflating the dough during shaping loses the air pockets you worked to build. Pull the edges toward the center, flip it seam-side down, and use your hands to create gentle surface tension without squishing.
Do not skip scoring the top. Those deliberate slashes are not just for looks. They control where the bread expands in the oven, preventing random, ugly tears and giving your Italian bread recipes crusty loaf that signature artisan appearance.
You are just one step away from fresh, warm, homemade Italian bread. Here is everything you need:
Rustic Italian Yeast Bread (Crispy, Crusty, and Homemade)
This rustic Italian yeast bread bakes up with a shatteringly crispy crust and a soft, chewy crumb that rivals any artisan bakery. Made with simple pantry ingredients and a Dutch oven, it is the homemade bread recipe you will keep coming back to.
Ingredients
- 3 cups bread flour, plus more for dusting; all-purpose flour works in a pinch
- 2 1/4 tsp active dry yeast, one standard packet
- 1 1/4 cups warm water, between 105 and 115 degrees F to activate the yeast
- 1 1/2 tsp fine sea salt
- 1 tsp granulated sugar, feeds the yeast and helps browning
- 1 tbsp extra virgin olive oil, plus extra for greasing the bowl
Instruction
In a small bowl, combine the warm water, sugar, and active dry yeast. Stir gently and let sit for 5 to 10 minutes until the surface is foamy. If no foam develops, your yeast may be expired and should be replaced before continuing.
In a large mixing bowl, whisk together the bread flour and fine sea salt. Make a well in the center and pour in the activated yeast mixture along with the olive oil.
Stir with a wooden spoon or dough scraper until a shaggy dough forms. Turn it out onto a lightly floured surface and knead firmly for 8 to 10 minutes until the dough is smooth, elastic, and springs back when poked. Alternatively, use a stand mixer with a dough hook on medium speed for 6 minutes.
Lightly coat a large bowl with olive oil, place the dough inside, and turn it once to coat. Cover tightly with plastic wrap or a clean kitchen towel. Let rise in a warm, draft-free spot for 1 to 1.5 hours, or until doubled in size.
Place a Dutch oven with its lid inside the oven and preheat to 450 degrees F (230 degrees C) for at least 30 minutes. This step is essential for a crackling, crispy Italian bread crust.
Once risen, gently punch down the dough and shape it into a round boule or an oval loaf. Place it on a sheet of parchment paper and let it rest, uncovered, for 20 to 30 minutes while the oven preheats fully.
Score the top of the loaf with a sharp knife or bread lame, making one or two slashes about 0.5 inches deep. This controls how the bread expands in the oven.
Carefully remove the hot Dutch oven from the oven. Lift the dough by the parchment paper and lower it into the Dutch oven. Cover with the lid and bake for 25 minutes.
Remove the lid and continue baking for an additional 15 to 20 minutes, until the crust is deep golden brown and the loaf sounds hollow when tapped on the bottom.
Transfer the bread to a wire rack and cool for at least 20 to 30 minutes before slicing. Cutting too soon will give you a gummy crumb.
Equipment
- Large mixing bowl
- Small bowl
- Dutch oven (5 to 6 quart)
- Wooden spoon or dough scraper
- Stand mixer with dough hook (optional)
- Parchment paper
- Wire cooling rack
- Bread lame or sharp knife
Notes
Serving, Variations, and Storage
Serve this rustic Italian bread recipe warm with a shallow bowl of quality olive oil and flaky sea salt for dipping. It is equally at home alongside a bowl of minestrone, sliced thick for a bruschetta base, or toasted the next morning with salted butter.
Easy Variations to Try
- Rosemary and sea salt: Press 1 tablespoon of fresh rosemary leaves into the dough during the final shape and sprinkle flaky salt on top just before baking.
- Garlic bread Italian style: Brush the finished loaf with roasted garlic butter straight from the oven.
- Whole wheat blend: Swap up to one third of the bread flour for whole wheat flour for a heartier, nuttier crumb.
For storage, cool the loaf completely before wrapping. Freeze extra slices between sheets of parchment for up to 2 months and toast them straight from the freezer whenever the craving for crusty Italian bread recipes easy enough for any night hits.